|
Mother's Day is tomorrow! Eek! Of course I am forever the last minute queen so here's a quick last minute craft DIY for your lovely Mum. You will need:
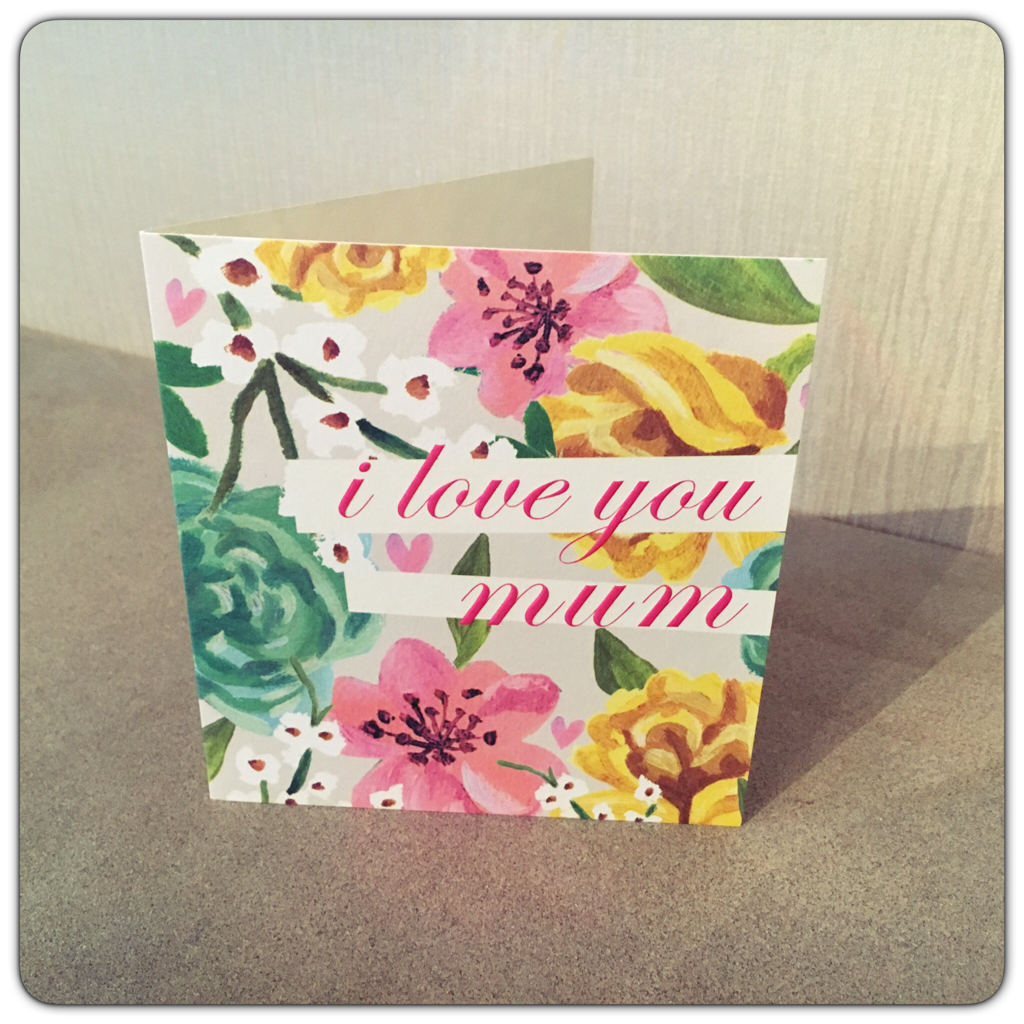
Step 1 - SprayClean your watering can then once dry, spray! Follow instructions on the can and you can't go wrong! Just make sure you're in a well ventilated area, or just do it outside. And make sure you use a dust sheet/tarpaulin to cover the immediate area you're spraying. Oh and wear gloves! I ended up looking like Goldfinger or something as I forgot that step! I forgot to take a photo of mine before I sprayed it! If you want to see it, you'll have to check out my first, exciting attempt at vlogging! (I will be doing a separate blog including the vlog and my experience of it! Watch this space!!) The original colours were pink and white alternate stripes. It was the stripes that sealed the deal, I thought it would give it something extra with the ridges once sprayed. Step 2 - PaintSo now you need to add your design. Using your brush, paint your lettering. I've chosen 'Love You Mum'. Then decorate around your lettering. The design for mine comes from the interior decor of my Mum's front room. She has some beautiful oriental furniture with golds and cherry blossom. So I decided to paint these on the sides of my lettering, using purple and white acrylic paint. Alternatively, you can use vinyl lettering stickers. As long as you seal it after with Mod Podge, you could even use just normal stickers for your lettering and decoration. Final Step - SealLastly, all you need to do is seal your design with Mod Podge so it doesn't chip or flake off. (See EDIT! DO NOT USE MOD PODGE! Use a clear acrylic spray paint sealer). Once dry, fill with flowers, wrap up in cellophane and add a pretty bow with some ribbon from your craft stash, eh voila! Your finished pressie. I'm annoyed with my finish, it wasn't perfect because I rushed it! So although I've labelled this as 'last minute' you do need to allow ample time for the spray paint to completely set! Hence I made a few smudge marks on mine as the spray paint was still tacky when I went to paint it. The advice on the can was use multiple thin layers as oppose to a few heavy layers. Good advice to note! Another point to add, I completely didn't think about spraying the inside and just did it. After, I realised I probably couldn't use fresh flowers (the original plan) for the worry of the paint flaking off in the water and killing the flowers quickly! So I opted for artificial flowers instead! And to finish, of course I didn't have time to hand make my card too so I picked up this cheeky floral number. From a lovely local shop 'Under the Sun' in Southchurch Road of Southend-on-Sea. My fab home town. I loved the wording as it ties in nicely with what I've used on the vase.
Hope you enjoyed this craft make and please do get in touch if you have a go. Would love to see your spin on it! Here's a link to the original idea that is a whole list of Mother's Day makes. So you're bound to find something that'll suit. http://www.countryliving.com/diy-crafts/how-to/g771/mothers-day-crafts-0509/?
0 Comments
Leave a Reply. |
Hello there!I'm Julia, Just Creative Julia, jolly pleased to meet you! Welcome to my creative lifestyle blog, established 2014. My creative journey in discovering my authentic self as a neurodivergent woman.
Embracing the Neuro Spicy! Here you will find many different topics centring around creativity, deep thoughts, mental health, food and more. Archives
May 2024
Categories
All
|


 RSS Feed


