|
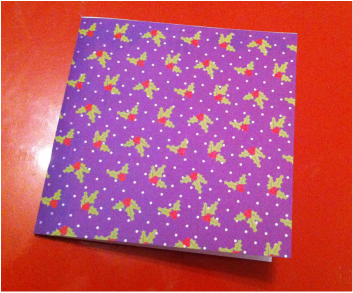
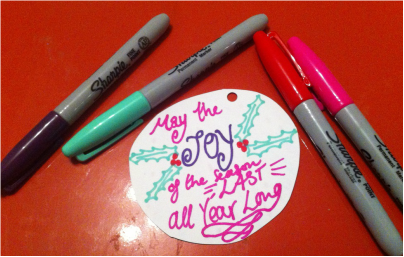
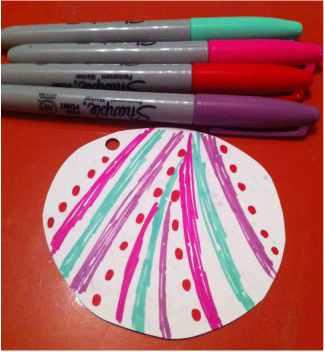
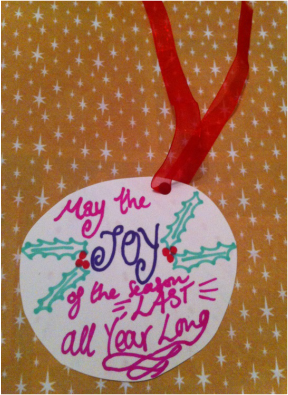
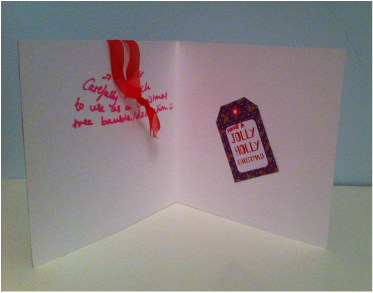
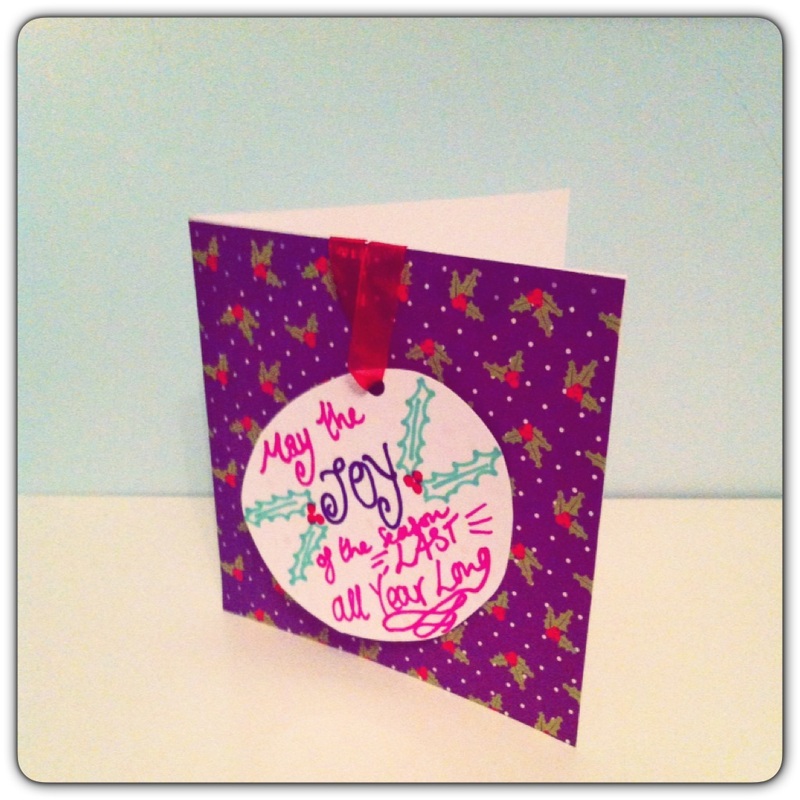
While Eli was back in hospital recently, yet again, for continuing poor weight gain over his reflux issues, I wrote this here blog to escape the tough trial we've been going through. He's been put on continuous feeding via a nasal gastric tube straight to his stomach. So far it's been doing the trick. Onwards and upwards! So what better way to take my mind off things than enjoying a bit of creative activity in the form of a handmade Christmas card. This one will be posted off to my lovely pen pal in the Netherlands, Petra. Very easy to do, here's the step by step. You Will Need: Decorative craft papers, Christmas theme of your choice. A square card blank. Some plain white card. Sharpie pens in colours of your choice to match your theme. Some organza ribbon. Glue, scissors, hole punch. Step 1 Cut out enough decorative craft paper to cover the whole background of your card blank and stick on. I'm using the purple holly paper that came free with the Christmas edition of Craftseller magazine. Step 2 Cut a circle free hand from your plain white card. Choose a Christmas sentiment to write and decorate. For mine I really love 'May the joy of the season last all year long'. Because Christmas often loses its true meaning of being about Jesus, I thought this one was quite a nice link to remember the joy. That lovely scripture from Nehemiah 8:10, 'the joy of the Lord is our strength'. And that we shouldn't just celebrate Jesus at Christmas, He is to be celebrated all year round. All the more this sentiment fits my feelings about the season. Using Sharpie pens, write the sentiment and decorate accordingly. Matching my holly background paper, I drew in some extra holly to decorate mine. Step 3 If the person who receives this wishes to use the bauble to decorate their tree as intended, then you will need to decorate the back also so it doesn't look plain and dull on the other side. For mine, I did a very simple stripes and dots design. Step 4 Punch a hole in the top of your finished bauble. Thread some organza ribbon through and knot the ends together. Step 5 Hang your bauble on the front of your card so the knotted end goes inside the card. Using glue dots, glue the ribbon to the inside. These are perfect for gently easing the ribbon off the card later on for the person who receives it. Finally, glue a sentiment to the inside. And the card is finished! Here is the finished article. Feel free to get in touch with your own versions and I will be happy to post them up. Happy crafting.
1 Comment
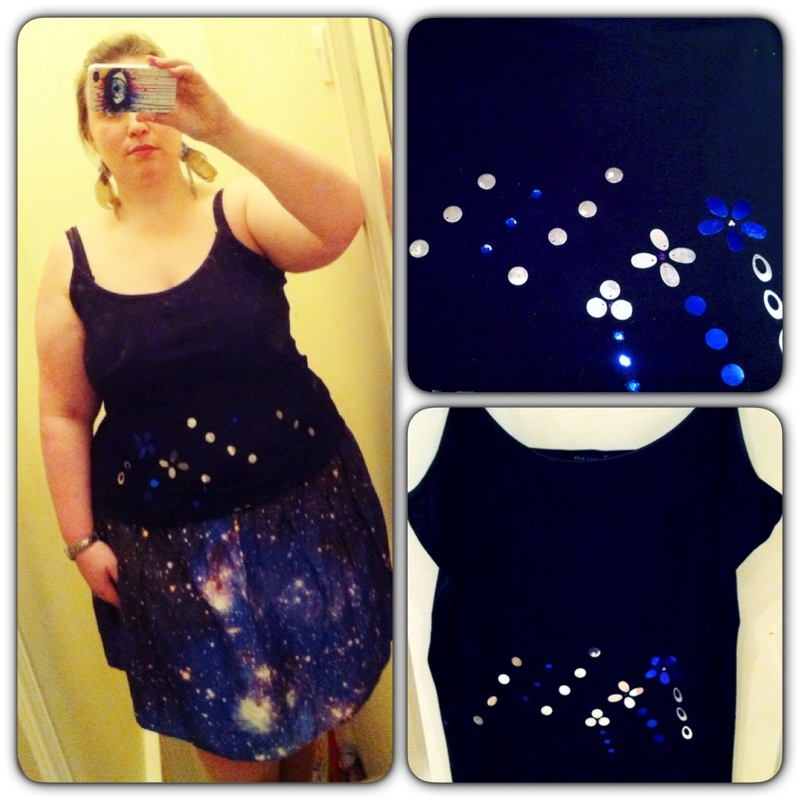
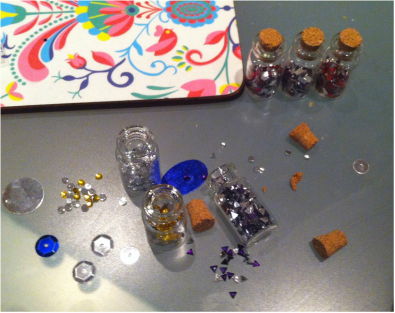
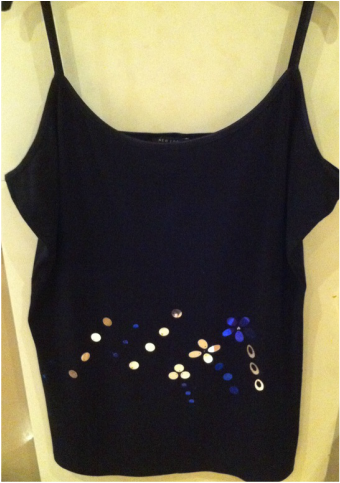
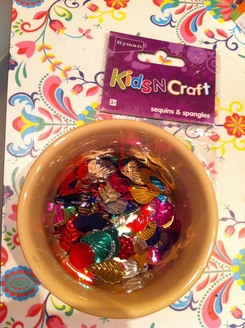 With only two weeks away until Christmas, the party season is upon us! I found myself thinking lately that I'd really like a new sequin top. To fulfil my need for something sparkly for all the social celebrations. But I didn't fancy the idea of spending out £20-£30 on a top I'll only wear once or twice for the month of December. So I had a creative idea to make my own! Now, sewing is not my forte, so of course I decided to just glue the sequins on. All you need for this is a fab versatile glue such as E6000. Apparently it is the 'jeweller's glue' and great for other projects too. Such as adding crystals to your Converse. I looked it up and it can withstand washing machine temperatures, so a 30 degree hand wash in the machine will do nicely! You can pick some up on Ebay ranging from a couple of quid for 3ml, right up to £5.99 for 110ml if you want to use it for future projects. If you want to be really thrifty, you could just 'upcycle' an old black tank top/strappy top. And customise to hide any markings. For me, under the arms get a bit grotty, so a sequin trim around that area is one idea. If you want to buy a new top, mine cost just £4.49 from New Look, which have their Inspire range for the bigger sizes too (perfect for me!). Lastly, you need your sequins. If you are a creative/crafty type like moi, then just hunt through your stash and I'm sure you will have something suitable. But if not, any craft store will do individual sequins to glue on which again should only be a couple of quid, if that. But if you want sequin trim which will make doing swirls or long lines much quicker, then I suggest you try a haberdashery. This was what I had to work with, 'kids' sequins! Had to really hunt out the suitable ones for my purpose! For your design, just look online for inspiration, Ebay search, Google image search etc. Find something you like and copy it to your specification. On initial research, I was aiming for a design that required sequin trim, such as, sequins already threaded. To allow for those spirals and lines I'd already mentioned. I got to the shops in Southend High Street just too late for our independent haberdashers 'Gades'. (It was shut by the time I made it there). Which would've stocked what I was looking for. So instead I ended up on a wild goose chase around any shop that sold craft items and came up with nothing! Hence, learn from my mistake, just head straight to the haberdashers and don't waste time otherwise! However, I ended up seeing these in The Range that I just couldn't resist... It was actually a set of 8 jars (2 are out of shot) and they only cost £1! You can see in the photo I broke a bit of cork in my haste to open them up! I love them, they make me think of treasure, precious gems and all the wonderful scriptures that go with that. (Spiritual treasure in clay jars, 2 Corinthians Chapter 4; We are a dearly held treasure, Deuteronomy). And they ended up coming in handy for some small subtle sparkles to finish off my top. And now for the step by step: You will need: E6000 glue, sequins of your choice, if you have them, 'Didi' glue dots, and a plain/basic black tank top/strappy top. 1. Try your top on and get a feel for where you want your design to go. Think about how it will flatter you or making sure you don't want to draw attention to any problem areas. (Being a woman of size this was an important factor for me!) 2. Once you have a rough idea, lay your top out and lay your sequins in the design you have planned and tweak it until you're happy. 3. Stick the sequins down with your glue dots. This will allow you to try your top on so they don't fall off, but also the glue is soft and tacky enough to be able to pull the sequins off and remove the glue dots to fasten them securely with your E6000 glue. 4. Try the top on and make sure the design is visible, doesn't draw attention to/covers areas you want to hide and just generally looks good. Tweak accordingly. 5. Once happy, keep them secured in place with the glue dots to keep your design in place so you don't forget what goes where. Take them off one by one, take the glue dots off and glue on with your E6000. Eh voila! I made mine with the thought of it matching my 'space skirt', as seen in the header picture. So I picked out silver and electric blue to match. And if you fancy a space skirt of your own, mine came from 'Shadowplaynyc'. Which ties in nicely for a teaser of a future project. I just bought an astronomy magazine for the pictures to make some jewellery with... Watch this space!
|
Hello there!I'm Julia, Just Creative Julia, jolly pleased to meet you! Welcome to my creative lifestyle blog, established 2014. My creative journey in discovering my authentic self as a neurodivergent woman.
Embracing the Neuro Spicy! Here you will find many different topics centring around creativity, deep thoughts, mental health, food and more. Archives
May 2024
Categories
All
|



 RSS Feed


