
 While Eli was back in hospital recently, yet again, for continuing poor weight gain over his reflux issues, I wrote this here blog to escape the tough trial we've been going through. He's been put on continuous feeding via a nasal gastric tube straight to his stomach. So far it's been doing the trick. Onwards and upwards! So what better way to take my mind off things than enjoying a bit of creative activity in the form of a handmade Christmas card. This one will be posted off to my lovely pen pal in the Netherlands, Petra. Very easy to do, here's the step by step. You Will Need: Decorative craft papers, Christmas theme of your choice. A square card blank. Some plain white card. Sharpie pens in colours of your choice to match your theme. Some organza ribbon. Glue, scissors, hole punch. Step 1 Cut out enough decorative craft paper to cover the whole background of your card blank and stick on. I'm using the purple holly paper that came free with the Christmas edition of Craftseller magazine. 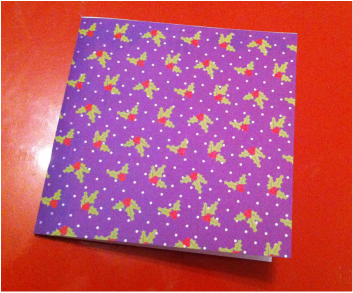 Step 2 Cut a circle free hand from your plain white card. Choose a Christmas sentiment to write and decorate. For mine I really love 'May the joy of the season last all year long'. Because Christmas often loses its true meaning of being about Jesus, I thought this one was quite a nice link to remember the joy. That lovely scripture from Nehemiah 8:10, 'the joy of the Lord is our strength'. And that we shouldn't just celebrate Jesus at Christmas, He is to be celebrated all year round. All the more this sentiment fits my feelings about the season. Using Sharpie pens, write the sentiment and decorate accordingly. Matching my holly background paper, I drew in some extra holly to decorate mine. 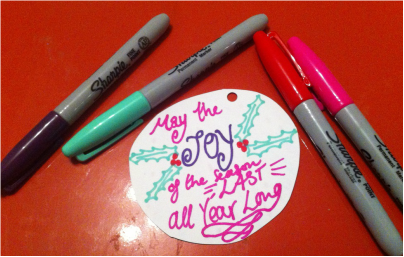 Step 3 If the person who receives this wishes to use the bauble to decorate their tree as intended, then you will need to decorate the back also so it doesn't look plain and dull on the other side. For mine, I did a very simple stripes and dots design. 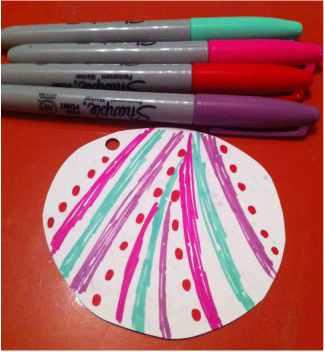 Step 4 Punch a hole in the top of your finished bauble. Thread some organza ribbon through and knot the ends together. 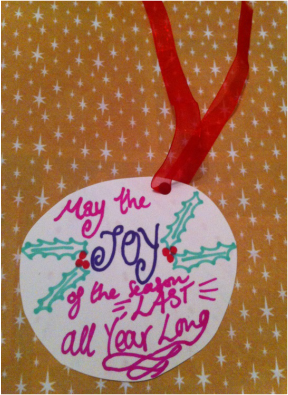 Step 5 Hang your bauble on the front of your card so the knotted end goes inside the card. Using glue dots, glue the ribbon to the inside. These are perfect for gently easing the ribbon off the card later on for the person who receives it. Finally, glue a sentiment to the inside. And the card is finished! 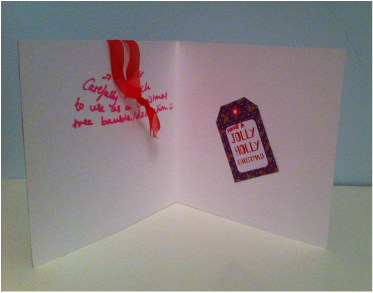 Here is the finished article. Feel free to get in touch with your own versions and I will be happy to post them up. Happy crafting. 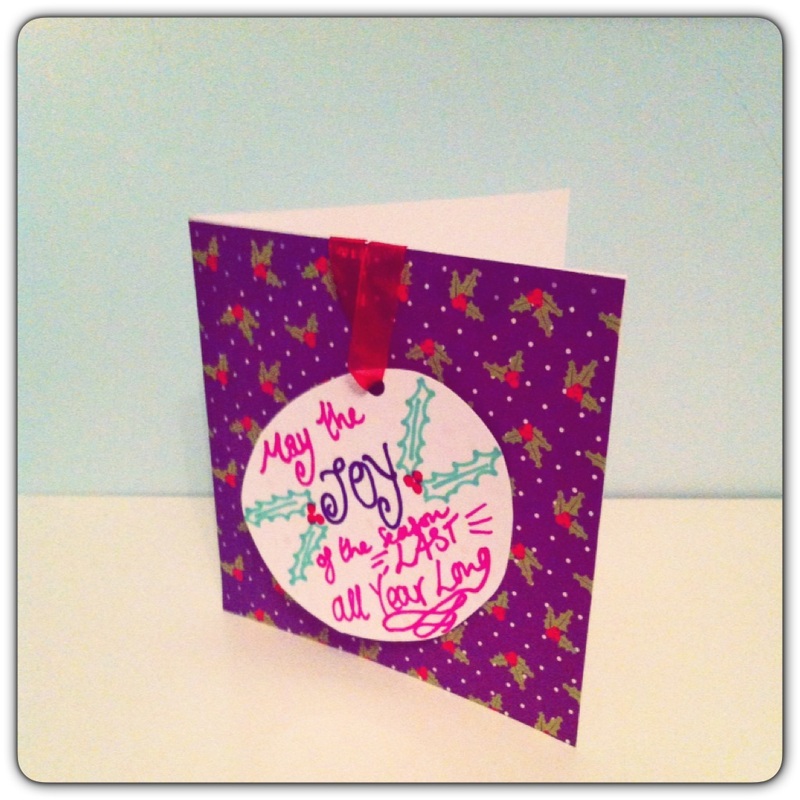
1 Comment
As receiver of this beautiful card I can fully say how much it is appreciated to receive a home made card! It proudly hangs in my tree as it will do for many years to come! Leave a Reply. |

Hello there!I'm Julia, Just Creative Julia, jolly pleased to meet you! 
Welcome to my creative lifestyle blog, established 2014. My creative journey in discovering my authentic self as a neurodivergent woman.
Embracing the Neuro Spicy! Here you will find many different topics centring around creativity, deep thoughts, mental health, food and more. Archives
May 2024
Categories
All
|
 RSS Feed

