|
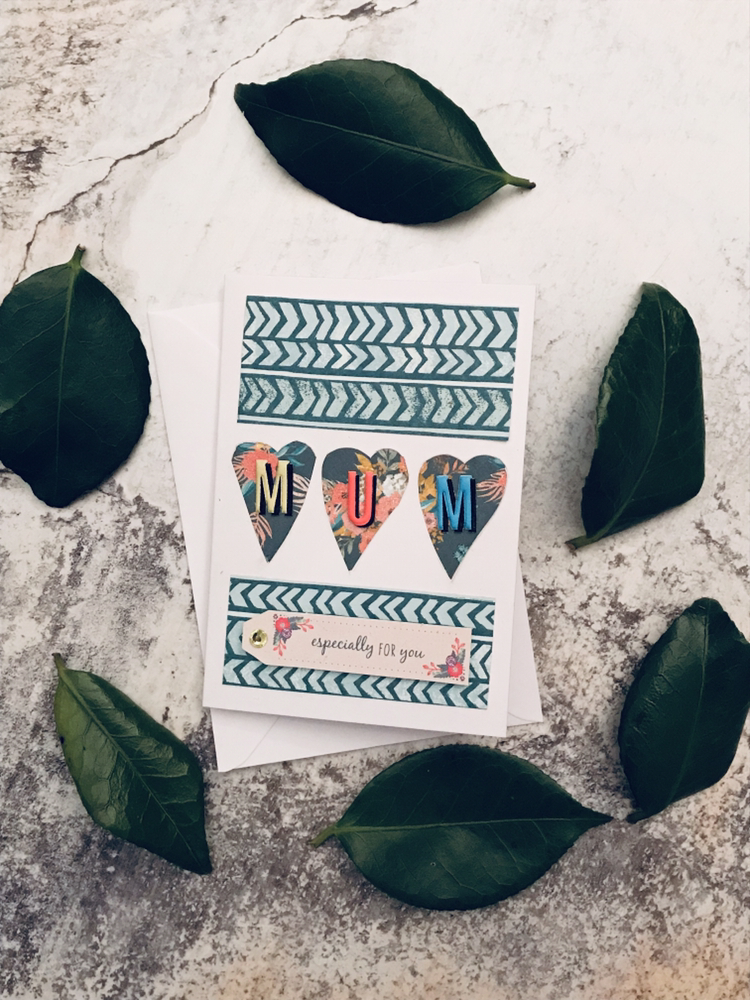
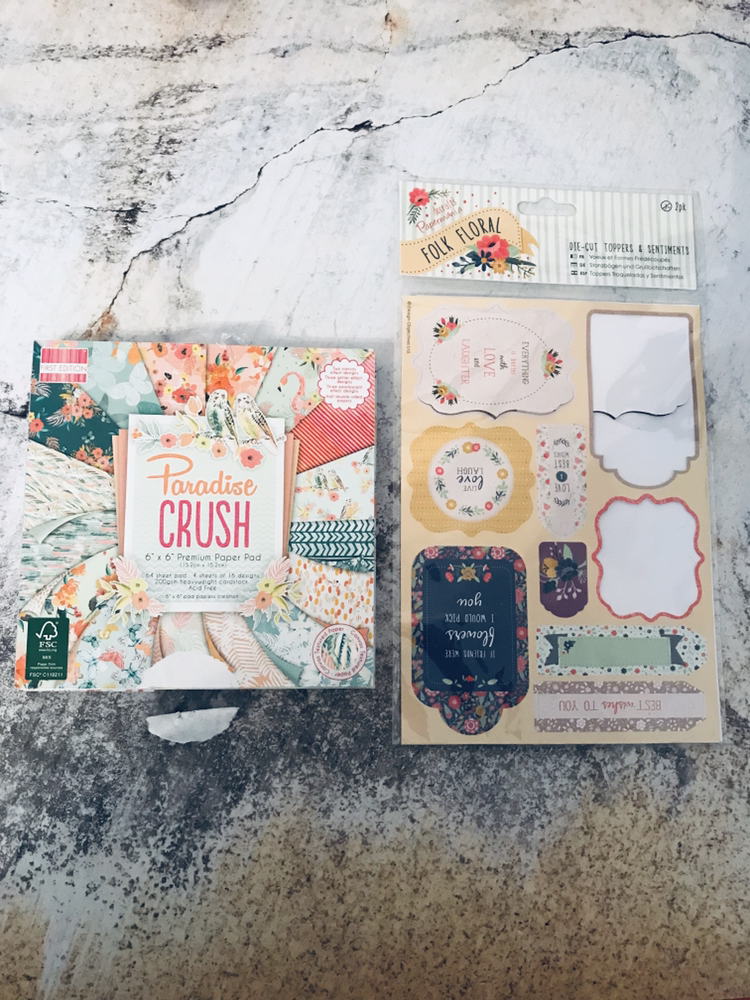
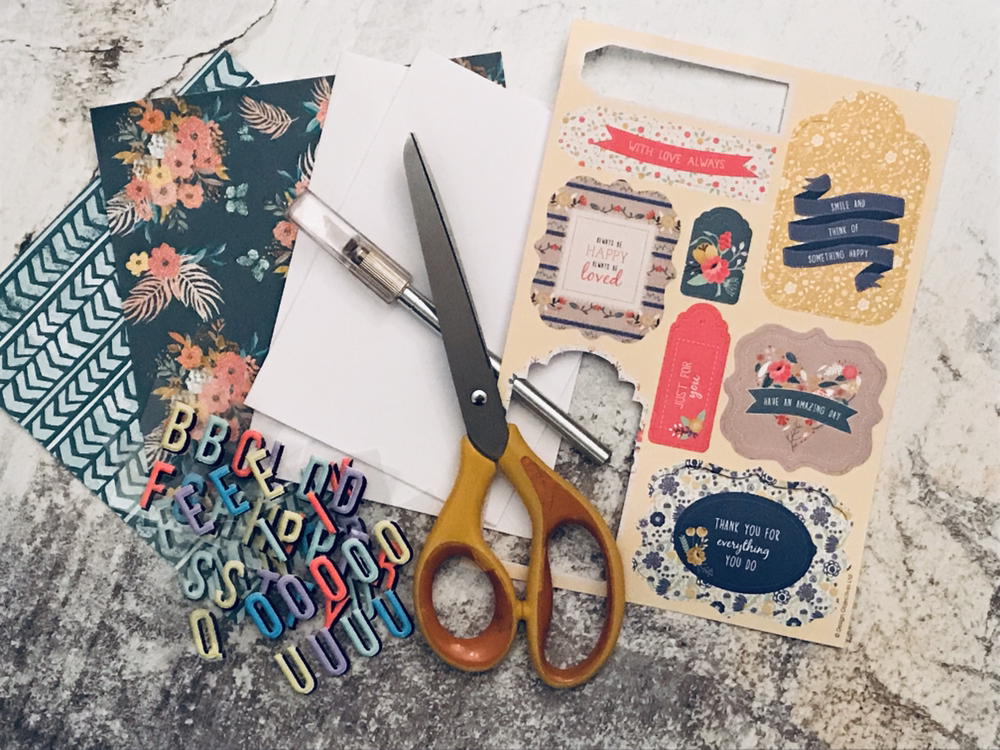
It’s felt like an age since I last blogged but actually it’s been more like 6 weeks. That isn’t major in the grand scheme of things. And I really need to cut myself some slack lately as my ill mental health reached a complete peak! It’s better now and I intend to write a few blogs about it. But basically, the short of it was, I had a bit of a crisis in my identity while the psychiatrists were trying to sort my medication. Somewhere along the line I’d started hiding behind my bipolar disorder. Needing the label to define myself. The last few months has been pretty horrendous, I’ve been hurt and caused hurt with a close friend. I’ve cried buckets, and been triggered all over the place. I’ve been challenged and faced some hard truths. The negative swirling thoughts just got too much. Thankfully I’m on new medication now that seems to be helping. It’ll still take a while to adjust but feeling like I can finally cope with life is a wonderful thing! So I’m taking advantage of feeling better and here we are! Now, onto the tutorial! Mother’s Day is only next week here in the UK! Sunday 31st March. I thought I’d do a quick DIY tutorial for this cut out hearts/window hearts card. It’s pretty simple to do. All you need is:
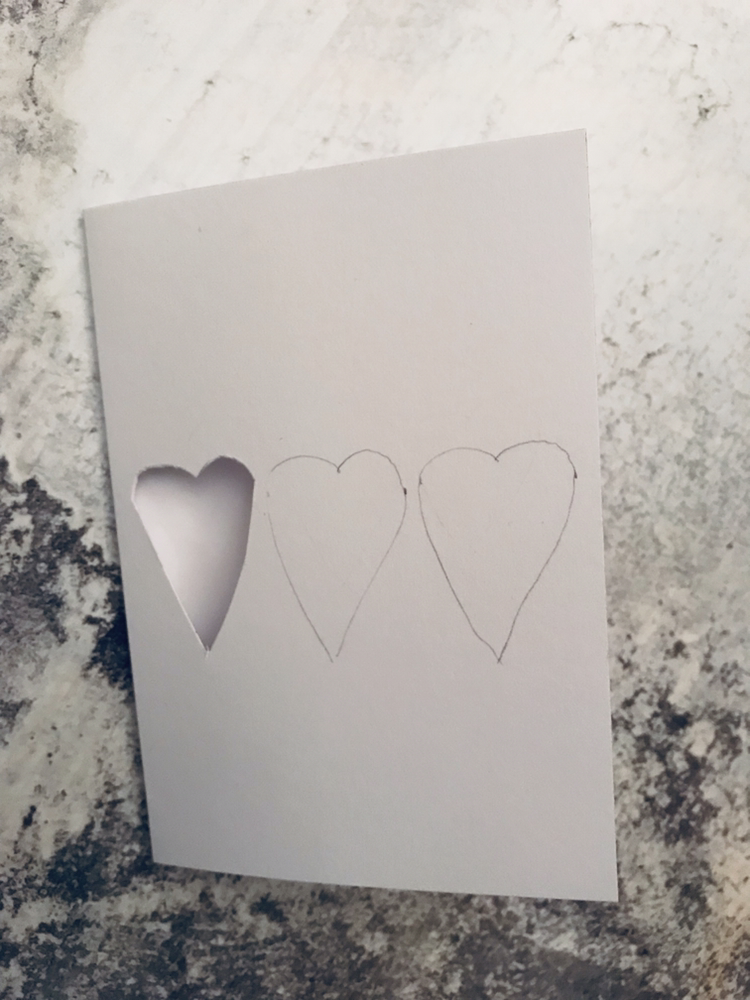
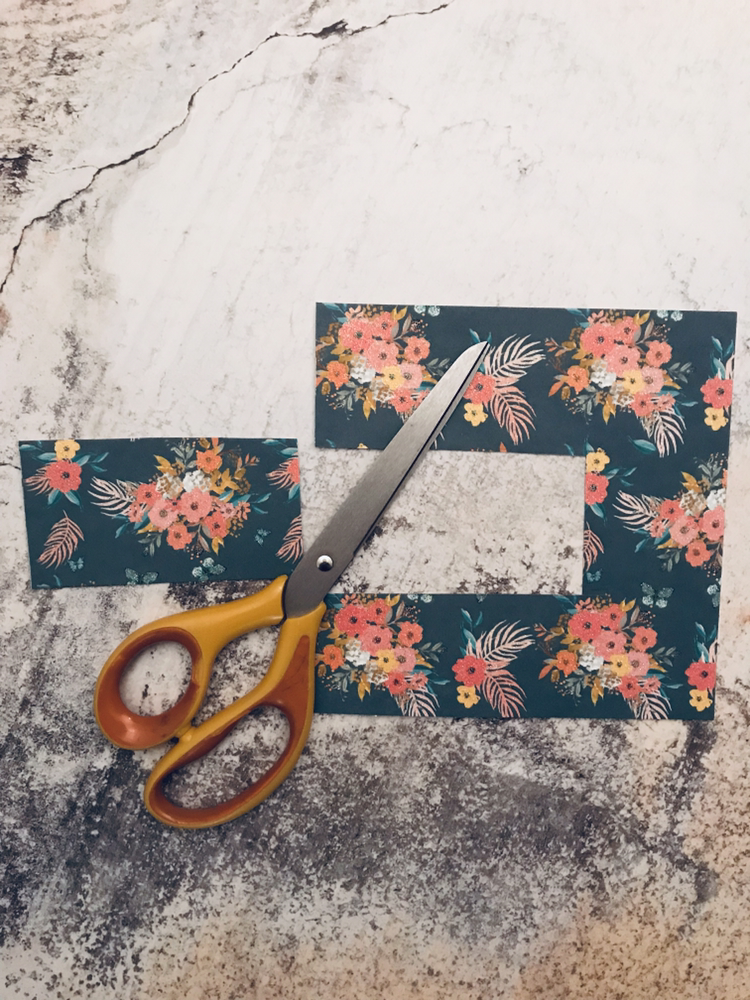
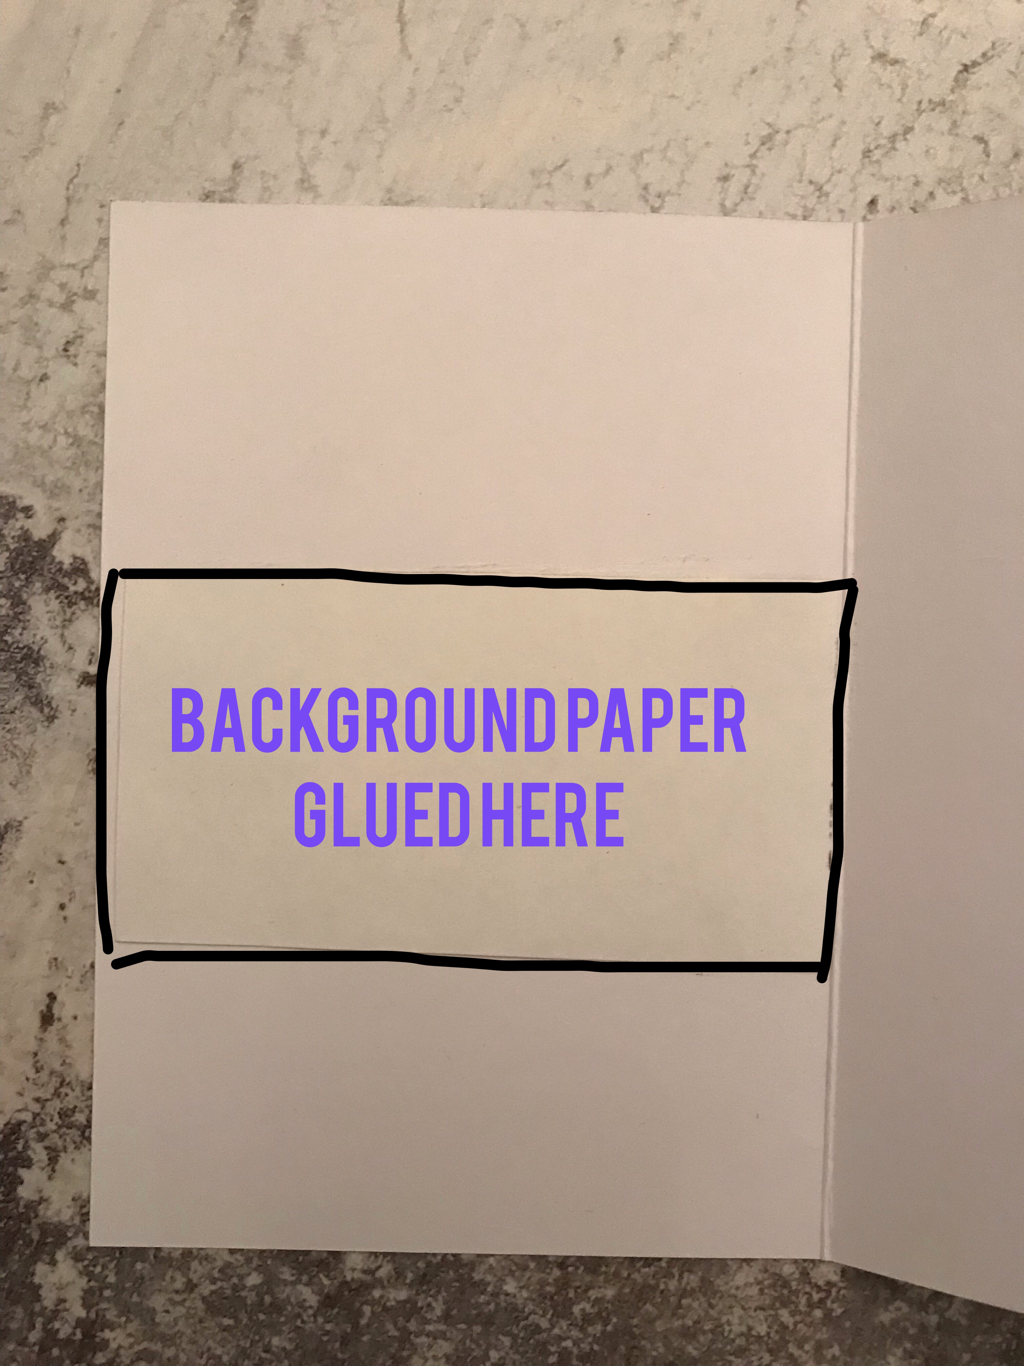
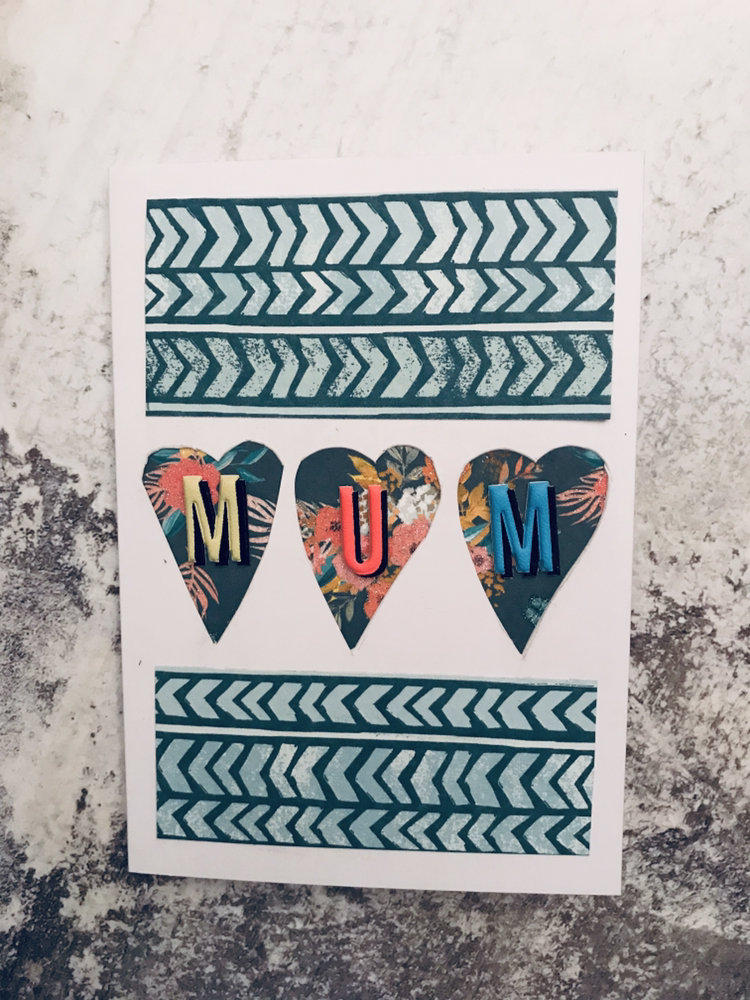
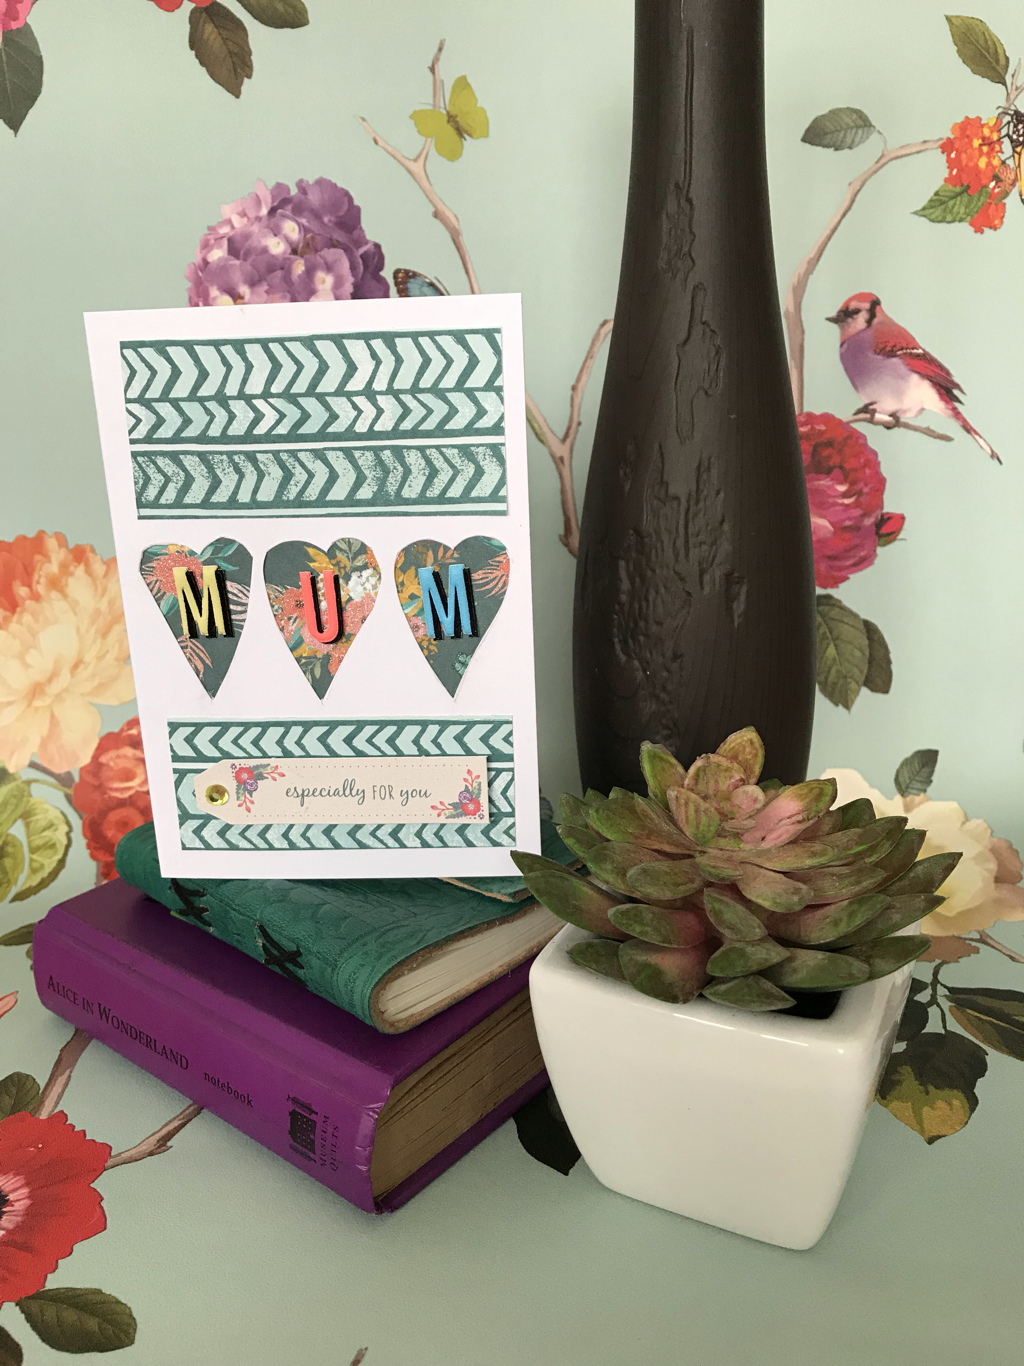
Step 1Using a pencil, draw 3 hearts in a horizontal line on the front of your card blank. You can either draw them freehand as I’ve done. Or draw around a heart template. My hearts measured approx. 3 cm across and 4cm down. Step 2Using your scalpel, cut out the hearts. Don’t forget to use a cutting pad or at the very least, a good few layers of newspaper to protect your surfaces. Step 3Cut out your background paper. This will be the one to go behind the heart cut outs. Mine measured 10cm across and 5.5cm down. Step 4Glue your background paper to the inside of the front. If you’re using stick glue rather than double sided tape I recommend adding glue to the card blank to avoid getting unnecessary glue (that would be visible through the cut outs) on the background paper. Step 5Stick your letter stickers on to spell out ‘Mum’ so you have one letter on each heart. Cut out your second design of background paper. Measure approximately 4.4cm down by 9.2cm across for the top piece. And approx. 3.8cm down and 9.2cm across for the bottom piece. Glue onto your card. Finish off by adding your card topper sentiment using foam pads spaced evenly around the card topper. Stick it in the middle of the bottom background paper. Lastly, finish off with a sparkly gem and you’re done! You could always use this as a special birthday card for your Mum instead of a Mother’s day card. I’m really pleased with how the card came out, despite having to cut on newspaper as I couldn’t find my cutting mat anywhere in the house! Goodness knows where it’s ended up! I hope you enjoyed making it too. Don’t forget to tag me on social media if you do give it a go. Alternatively, if you run out of time to make a card or know you’ve got too much going on then you can always buy a card from my shop here.
Are you on Instagram? I’ve put it to a vote to do a giveaway for this card and I asked if people would prefer to win the card or a kit to make it. 7 people voted, yes, 7! And 6 of those voted for the kit. The info for the giveaway will be posted on my Instagram account on Friday evening (22nd March). So make sure you’re following me on there to be in with a chance to get the kit! Happy crafting my lovelies! 😘
1 Comment
|
Hello there!I'm Julia, Just Creative Julia, jolly pleased to meet you! Welcome to my creative lifestyle blog, established 2014. My creative journey in discovering my authentic self as a neurodivergent woman.
Embracing the Neuro Spicy! Here you will find many different topics centring around creativity, deep thoughts, mental health, food and more. Archives
May 2024
Categories
All
|




 RSS Feed


