
 It’s that time of year again! Ihanna’s annual Spring swap! This year marks the 10th anniversary, woo hoo! If you’re not familiar with it, the idea is to make and send 10 diy art postcards. And you’ll get 10 back. This is my 5th year of signing up and I love it! I was a bit sceptical this year what with the fact there is a global pandemic currently devastating the nation. I have a 6 year old and have been somewhat struggling with home schooling. Not to mention going a little mad as a highly sensitive person and not having much quiet time to recharge. So I was a bit worried whether I’d still manage it. But in the end, I couldn’t resist! It’s important now more than ever for me to be getting that creative time and what better excuse than doing the swap! Pandemic or not, I love the fact it forces me to make time to get creative. Having a deadline and knowing people are relying on me to receive a postcard helps keep me accountable. Granted, the postcards have been sent out the latest yet! I’m usually late in sending but this year I think is a record! Well, you know what they say, better late than never right?! 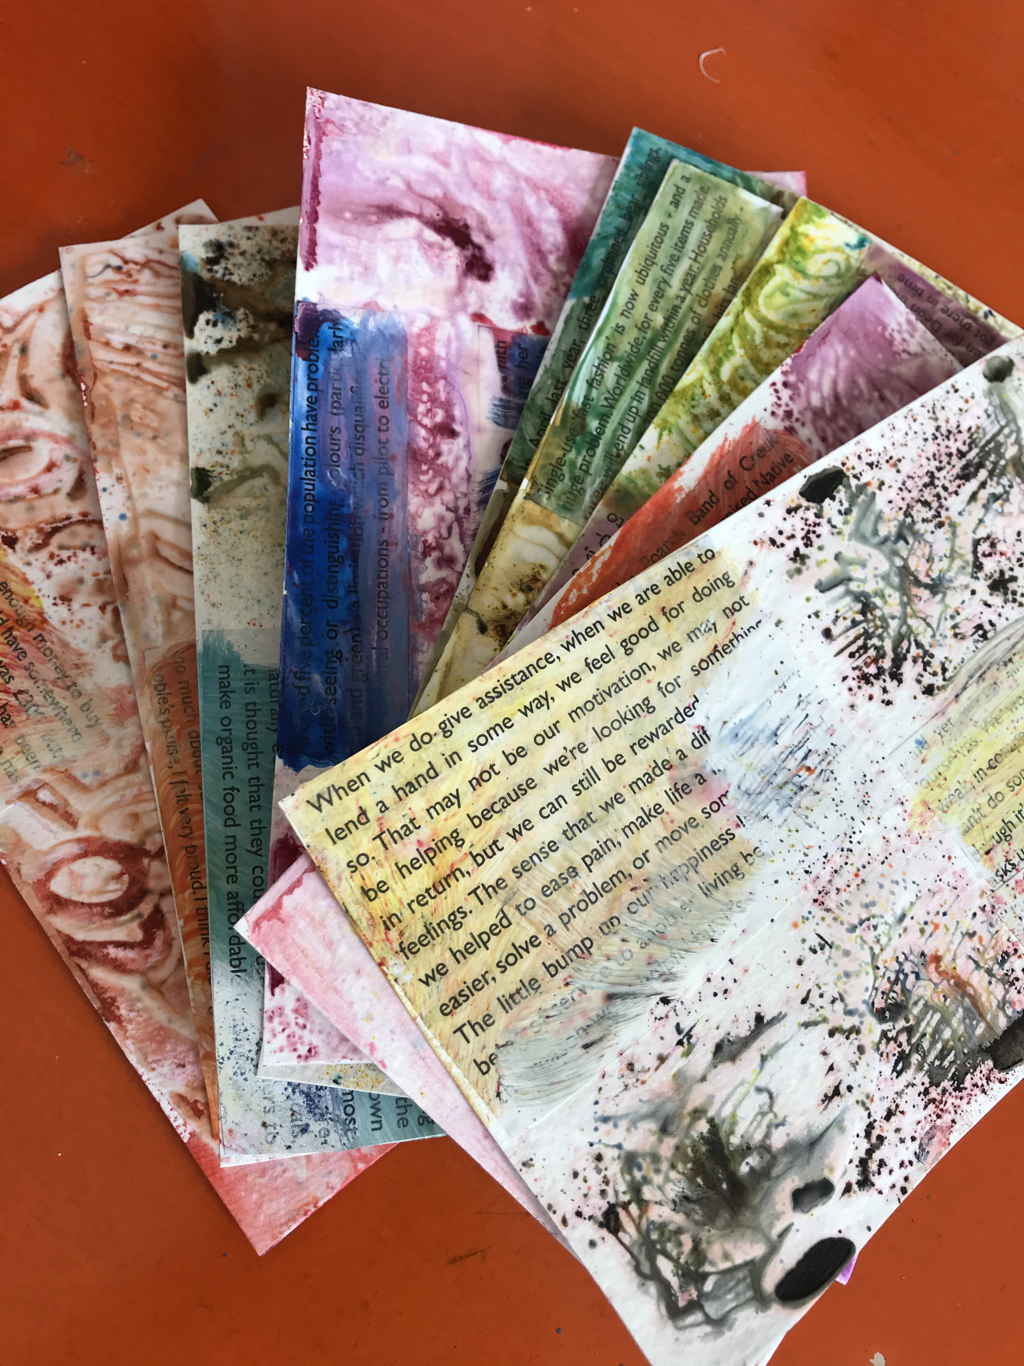 I love looking back at my postcards from my first swap until now. It shows how I've got more confident in my artistic skills each year I’ve taken part. Always great to see growth in action! For 2017’s swap, find out more about my process here. And for 2018, you can read about that here.  This year I wanted to do something a bit different whilst keeping it fairly simple. I decided to use the Brusho Crystal Colour pigment powders as I fell in love with them on first trying them out. You basically sprinkle the powder onto your page and spray with water. (Or spray first then sprinkle powder). Then once dry, you need to use a fixer such as a spray adhesive. Or hairspray for a cheaper/readily available option! It’s mesmerising to watch it all swirl around and take shape. They often come out quite dark so I had an idea to use white paint to try to tone them down. I had a little practice run to test the method, you can see these below. 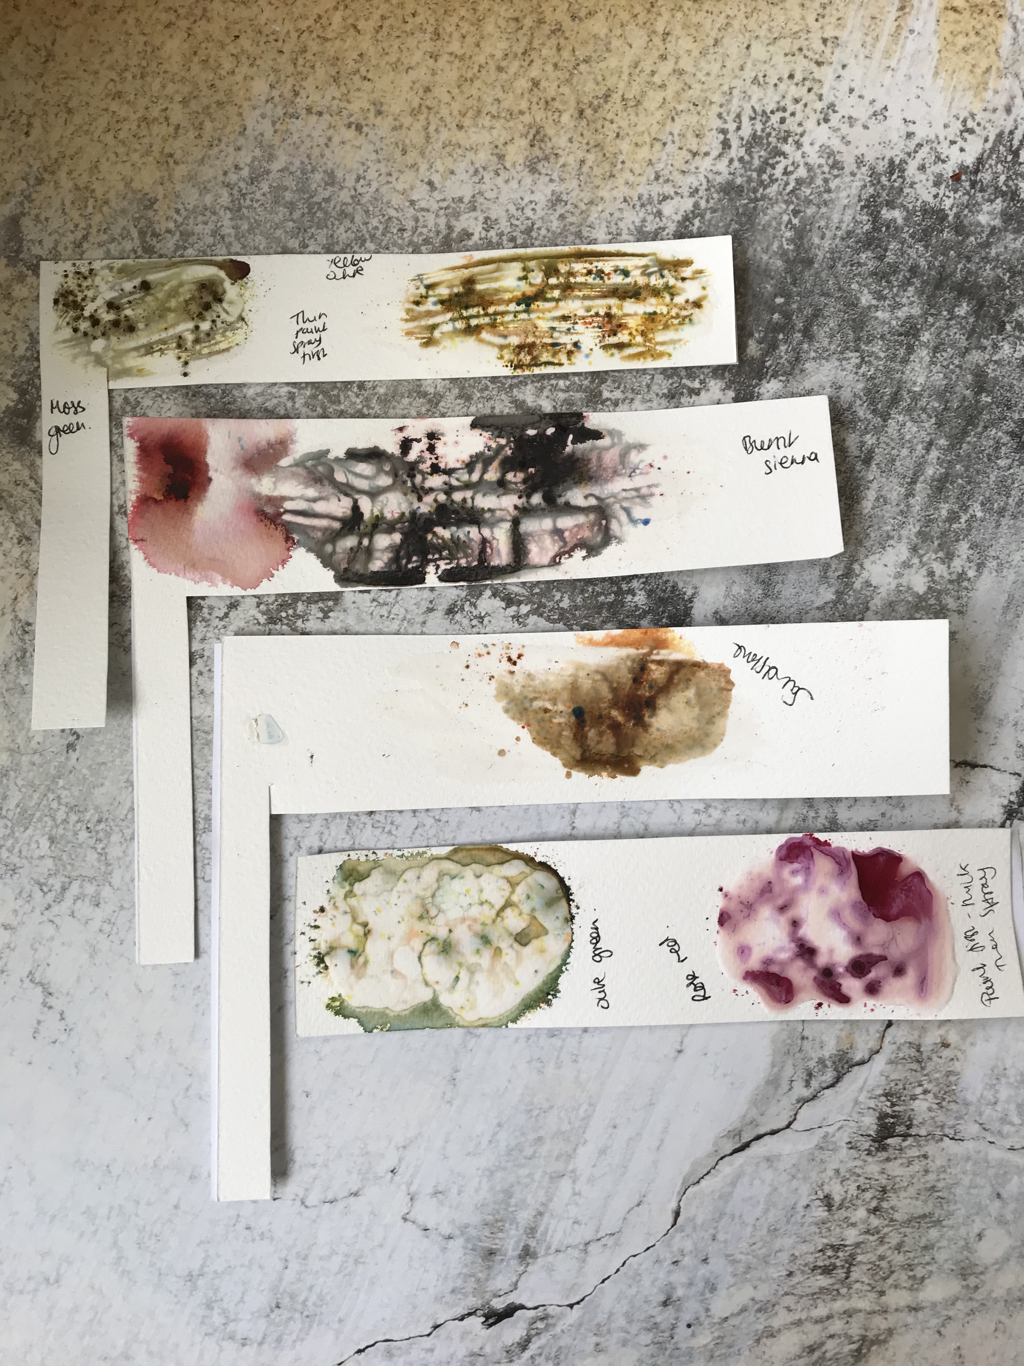 I made sure to mark what was what in terms of the colours. As I frequently forget how they turn out! My method was to thickly paint white poster paint, spray with water, then add the Brusho powder. It seemed to have the desired effect in lightening up the colours. I made sure to paint in waves and swirls because the powder then seemed to really pick up the patterns. I didn’t want to add quotes this year. For some reason, it just didn’t feel right. I had the perfect solution instead. To use good news stories from Emily Coxhead’s The Happy News. It seemed more fitting to be spreading real life good news rather than generic quotes. I then painted over the print with some gouache watercolours. If you fancy having a go, here’s the full tutorial.  What You’ll Need
Step 1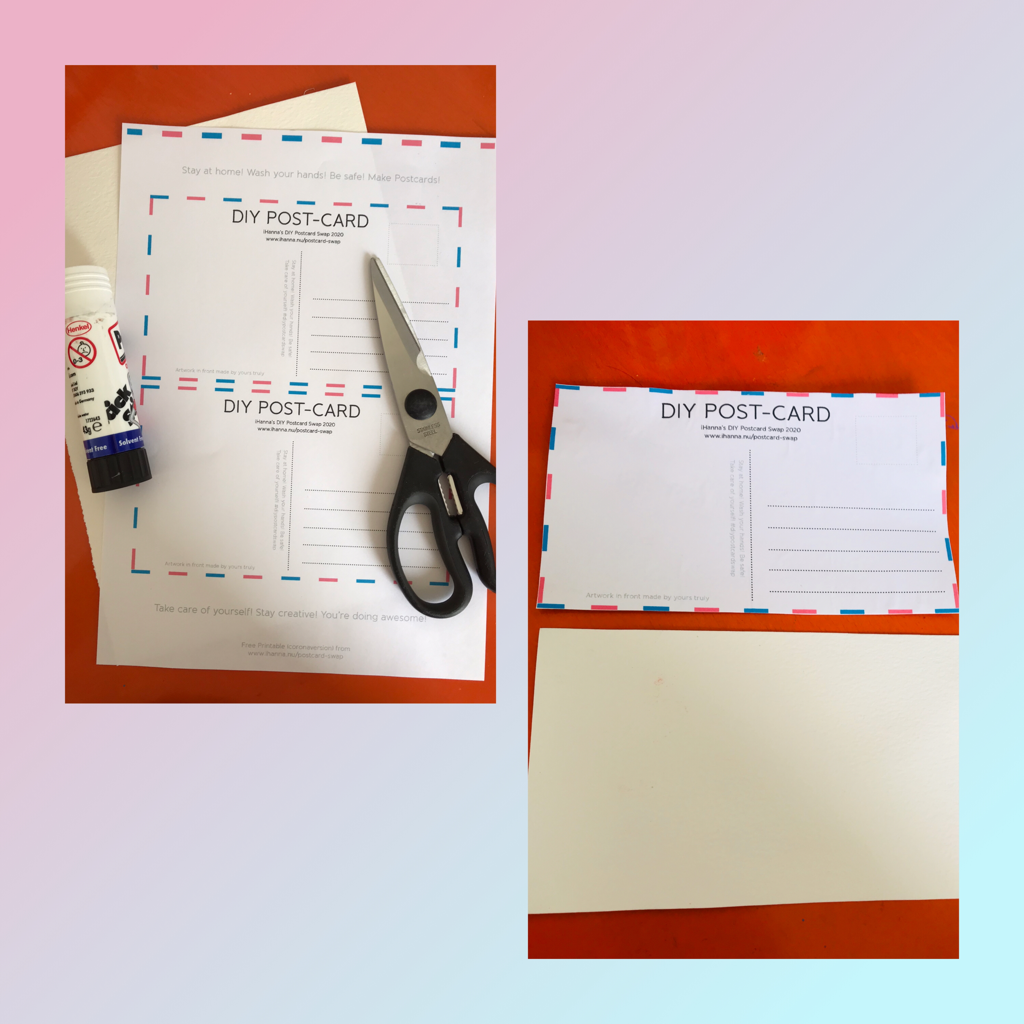 Print off your postcard backsides. Glue onto watercolour paper and cut out. I use Pritt Stick for this bit as I find it’s nice and strong. I’ve had postcards turn up where the actual art part has unfortunately fallen off in the post. So you want to make sure it’s secure and gets to your recipient in one piece. I find watercolour paper the best as it’s nice and thick and so absorbs whatever paint you use well. Step 2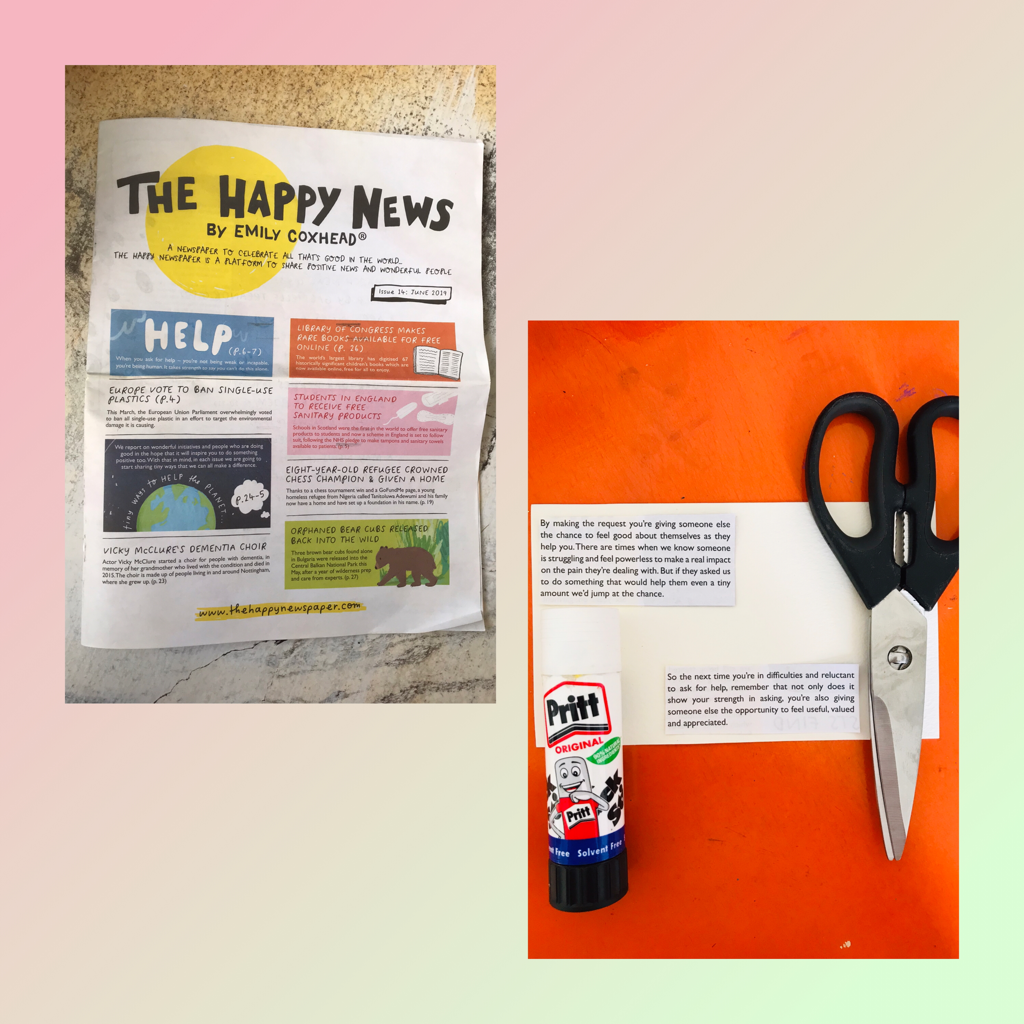 Choose your blocks of text from your newspaper, cut out and glue onto your card. Again, I used Pritt Stick for this bit. Make sure you leave lots of blanks space as this is where we will use the Brusho colours. Step 3 Squeeze your white poster paint directly onto the blank areas. Paint it around your card so it covers all the blank area. Create a pattern with swirls, waves, lines as the Brusho colour will really pick this up creating a beautiful effect. Keep it fairly thick as this will add texture. Step 4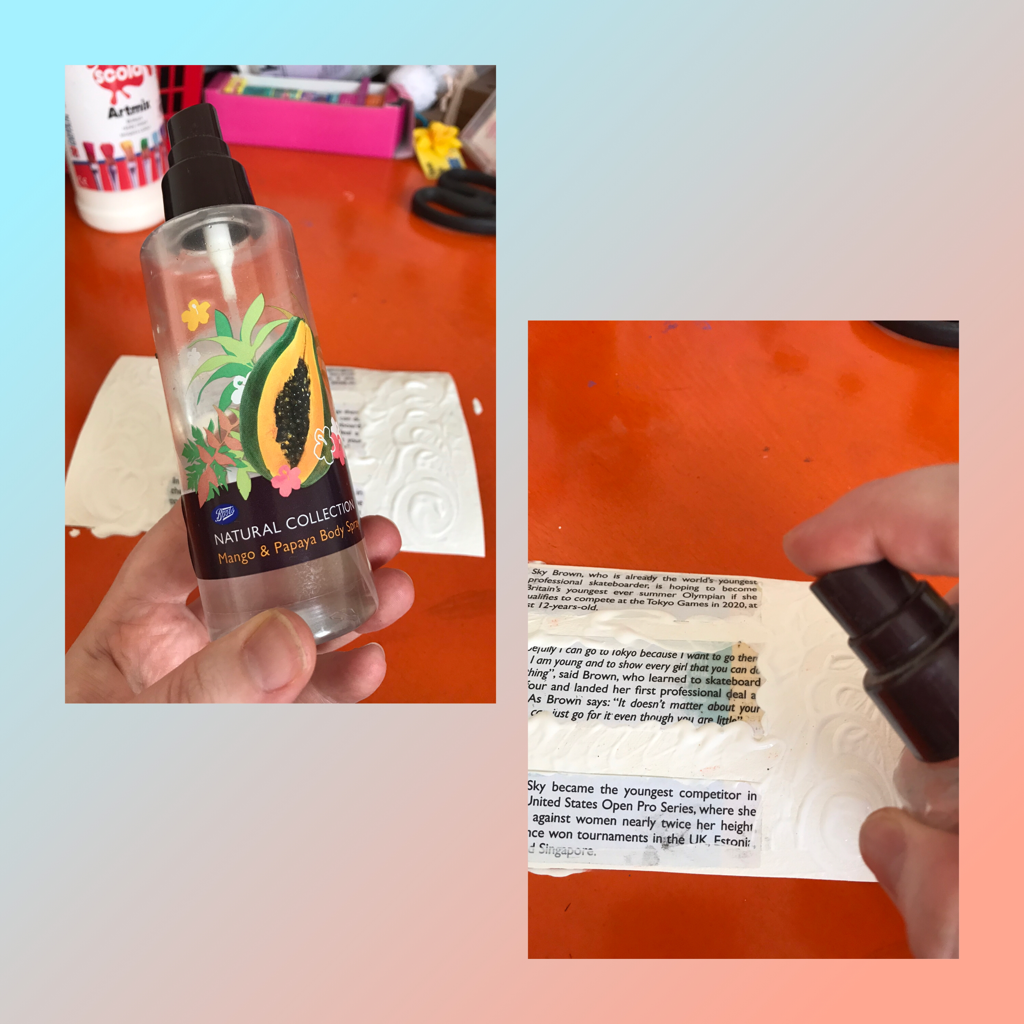 Grab your water spray bottle and spray over all the white painted areas. Step 5 Now, this is where the magic happens! Take a dry paintbrush, dip it in your Brusho powder, tap off excess and then tap the loaded brush over the white painted areas. How beautiful is that?! 😍 Keep repeating this process until it’s all suitably covered. 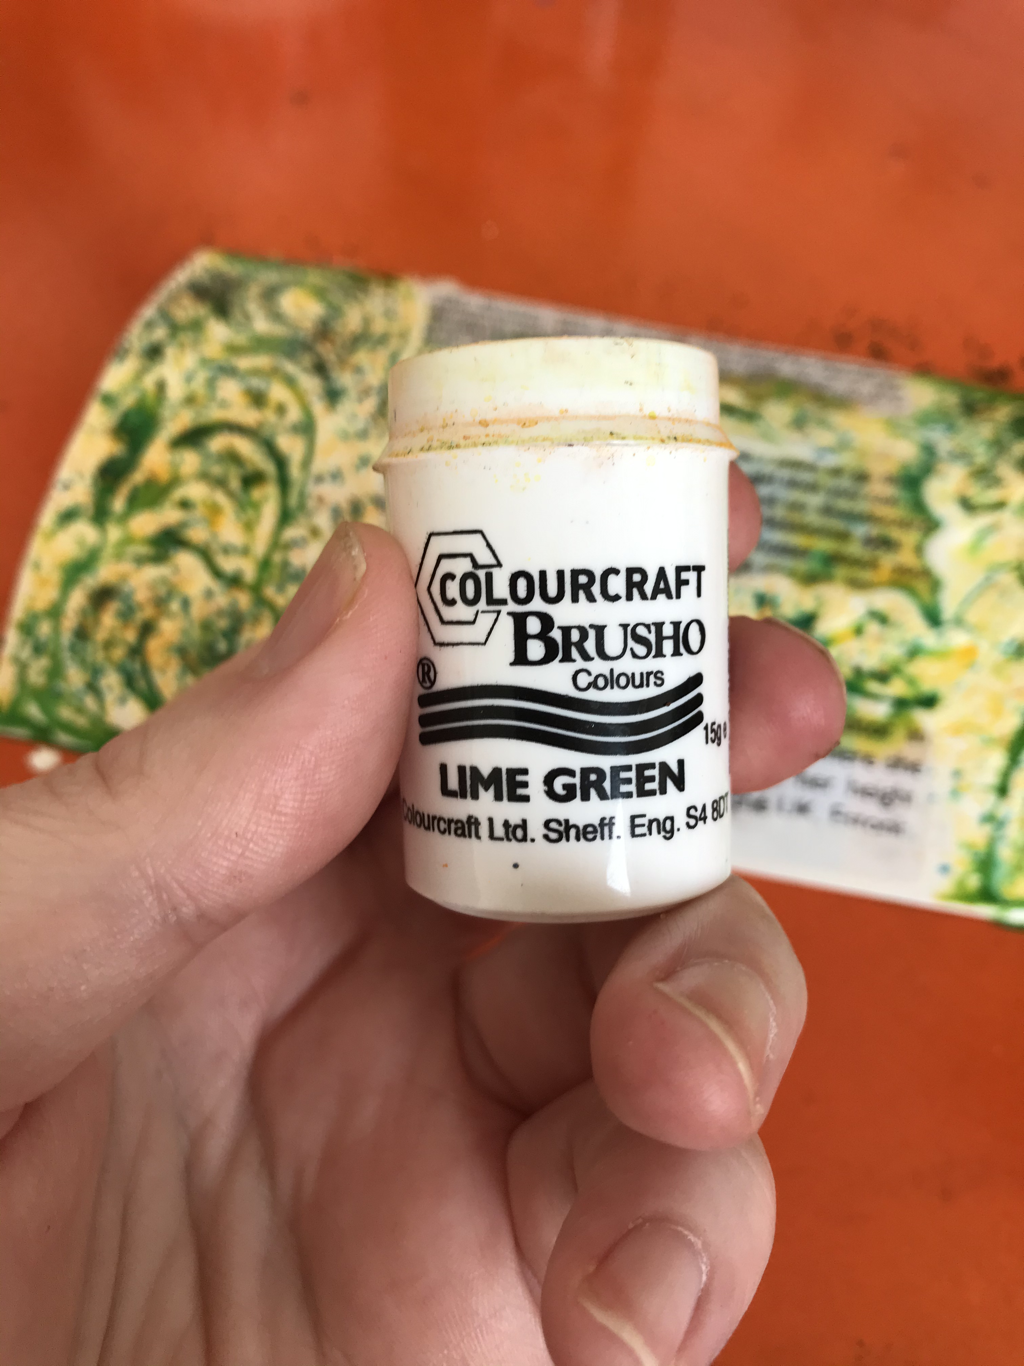  Step 6The last step is to paint the printed blocks in a complimentary colour. I used watercolour gouache tube paint. I also mixed mine with a little bit of pva glue to give it some extra strength. As the paint could potentially soak through to the glue and make it peel off.  And here we have the finished piece! Although this was taken whilst it was still wet. The second picture shows it fully dried.  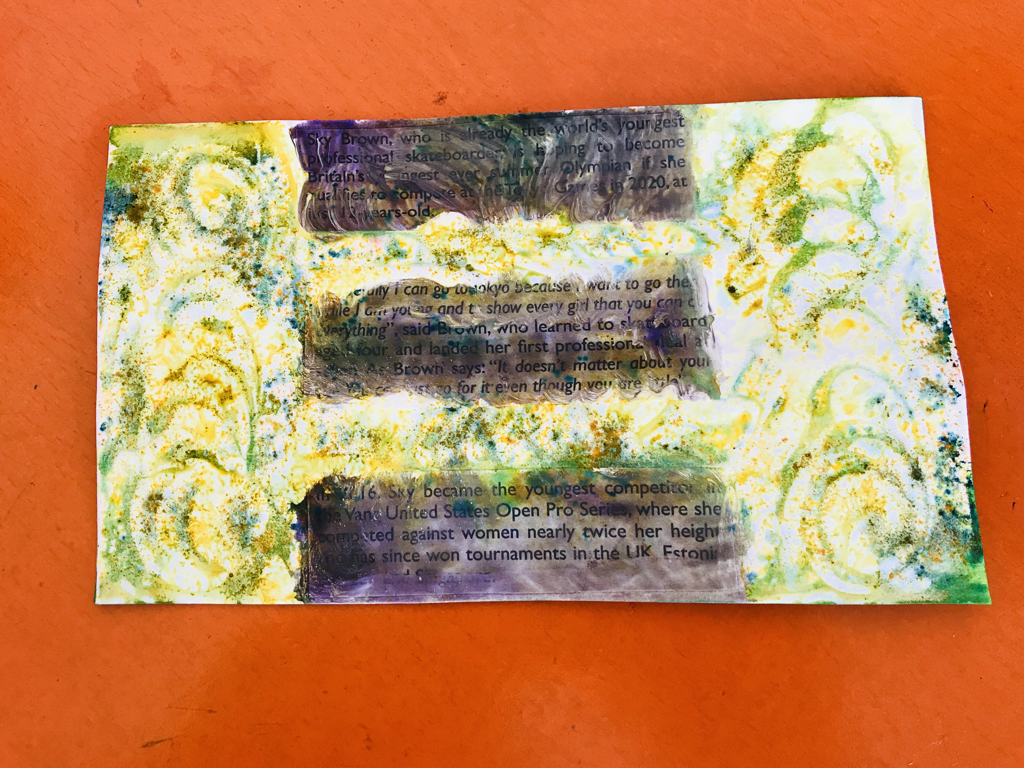 And that’s it! I did also make a Youtube video of the process so you can see the Brusho colours in action! Check it out below. I don’t have a tripod so it was a bit tricky trying to film on a stack of old vhs tapes! (How old am I?! 😂) But managed to get the right position in the end! Here they all are in their entirety. 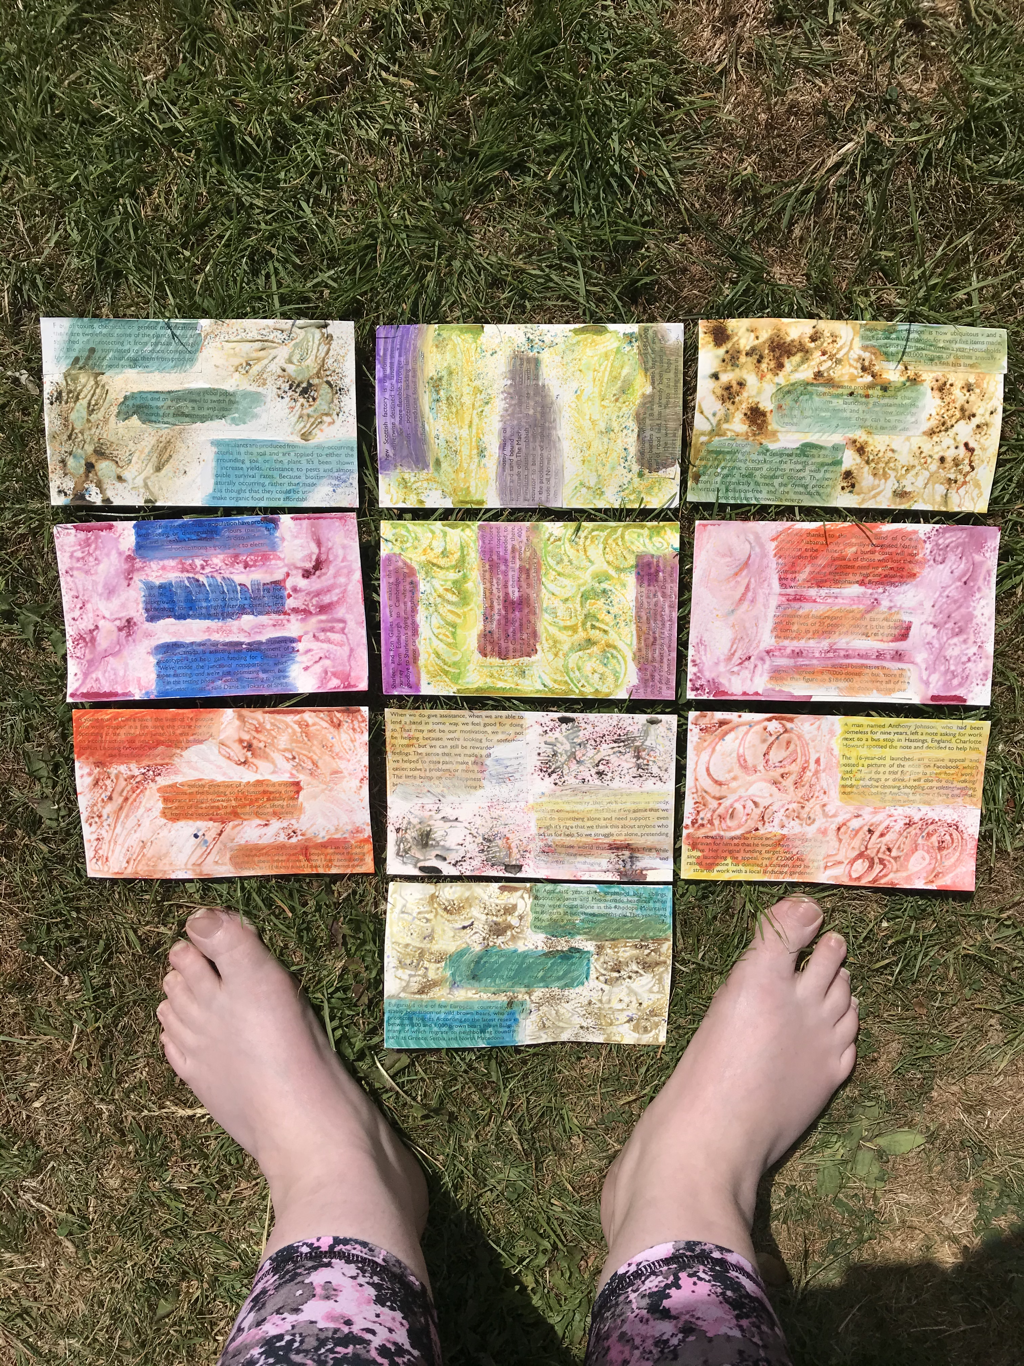 And here’s the postcards I’ve received in the swap this year. As I’m so late in posting this year, I’ve pretty much received all but one! I’ve added the links below for those who provided their Insta.  1. JA Krikscium
2. Aimee - insta @velvethardware 3. Ana - insta @anis_cc 4. Karen 5. Rebecca 6. Cathy 7. Debbie Viele 8. Dori 9. Louise Demetrescu So that’s it for another year! I hope you enjoyed finding out about my process and it gave you a few ideas. Keep making time to get creative and stay safe peeps! 💕🧡💛💜 Header pic copyright of Ihanna.
1 Comment
|

Hello there!I'm Julia, Just Creative Julia, jolly pleased to meet you! 
Welcome to my creative lifestyle blog, established 2014. My creative journey in discovering my authentic self as a neurodivergent woman.
Embracing the Neuro Spicy! Here you will find many different topics centring around creativity, deep thoughts, mental health, food and more. Archives
May 2024
Categories
All
|
 RSS Feed

