
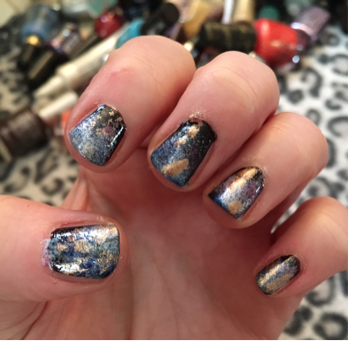
 Today I really needed to switch off. I felt my head spinning with thoughts to the point of feeling physically dizzy! Using my creative talent and getting lost in it is one way to rest but also give me focus and forget the noise of this world whilst I am in the moment. So I decided to paint my nails and put Eastenders on in the background! Another perfect way of switching off. You don't have to deeply concentrate on it to keep up. And everyone is always so miserable, the drama makes real life seem not so bad after all! I really love the galaxy look. You can use this technique on your nails, to paint a canvas, to decorate a glass jar and so on. It's pretty much just sponging and layering! You can see my galaxy skirt (bought from Shadowplaynyc on Etsy - lots of shops competing in this area now but these guys were one of the first!) in my diy sequin top tutorial here - http://www.justcreativejulia.co.uk/blog/diy-sequin-party-top-thrifty-thursday I also have the prettiest galaxy and jewel design notebook from Liberty, by Christian Lacroix. I love the mystery of the universe and the natural colours from galaxies, nebulas, black holes are just truly awesome in God's creation. You can see the notebook in my Lemon Witch pancake eatery review here - http://www.justcreativejulia.co.uk/blog/lemon-witch-review  You Will Need
Step 1 - PrepTidy up your nails, trim, file and apply a clear base coat. Step 2 - Apply Base Colour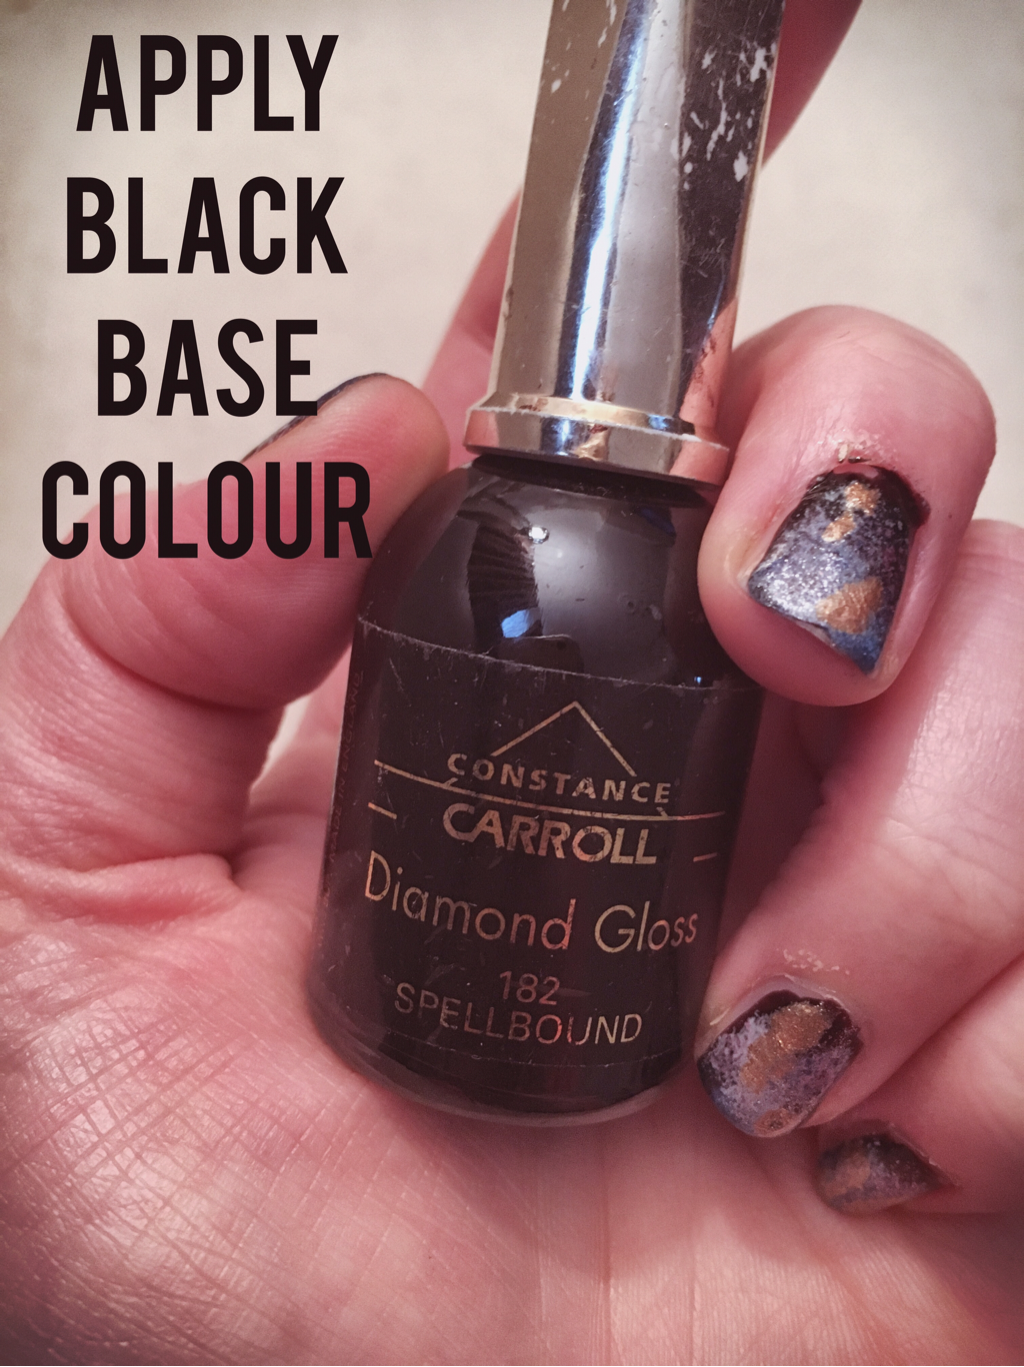 This nail varnish is sooo old! For those local to Southend-on-Sea, who remembers the 'in shops'? They were in the Victoria Plaza in the high street. The idea of market stalls but in a covered over mall type setting. I remember getting my ears pierced there when I was 11! I would spend my pocket money on a nail varnish or lipstick. Ah, memories! Step 3 - Start Layering!Start with your white or a pale pastel colour. Darker colours will not show up on the black so you need a few layers of the white and pastels before adding these. 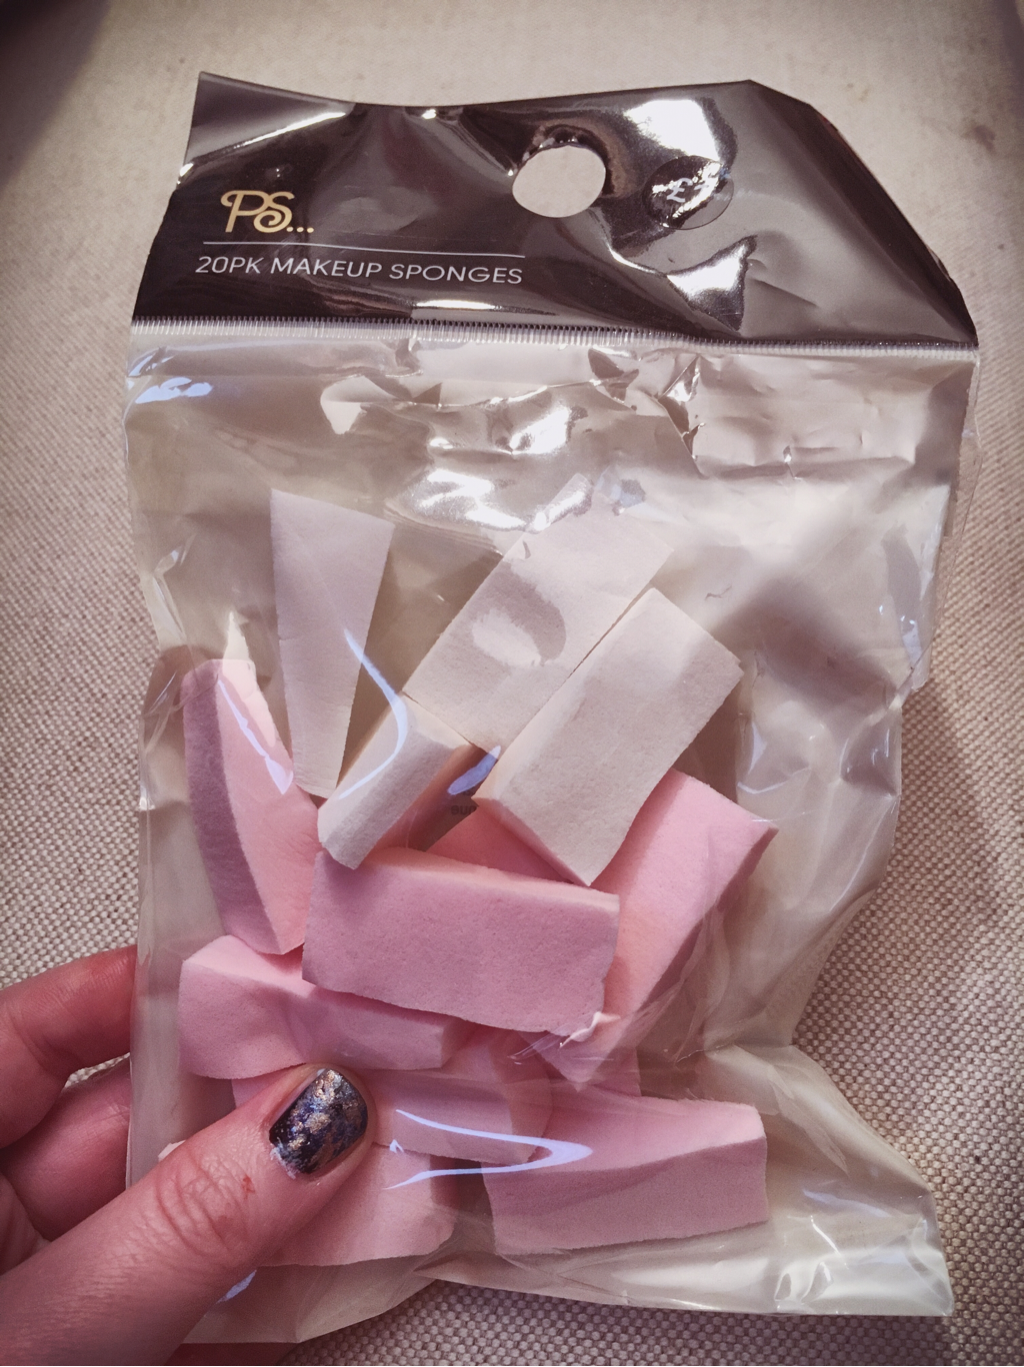 I picked up a pack of 20 make up sponges from Primark for the absolute bargainous price of £1! Apply your first colour onto the sponge then simply dab gently and carefully in a sporadic fashion. Only use a small amount of varnish on the sponge and you can use this lightly across five nails. Step 4 - Repeat!Repeat the sponging with your different colours. My order was pale pastel yellow, bright pink, baby blue, iridescent two tone navy/purple, silver glitter then metallic gold.  Think of it as expressive art. There is no right or wrong. Just dab where you feel and go with the flow! There are so many tutorials on youtube also if you feel you need to see the technique in action. Step 5 - Finish and TidyFinish off with a clear top coat to seal and give a glossy finish. You can skip this part if you prefer a textured look. Lastly, have a quick tidy up. Use a cotton bud and nail varnish remover to get rid of any messy splodges on your fingers.
I hope you enjoyed this tutorial. Please do share your images with me if you give it a go!
2 Comments
22/5/2017 09:47:01 am
Ooh they look really pretty Julia! I may well have to try this out. I still have nail polish from when I was a teen too.
Just Creative Julia
22/5/2017 10:56:23 am
Ah yes, I am such a hoarder! You could do galaxy nails for Blogtacular?! I was gonna get some more press on fake nails. The geometric ones I wore last year were very popular! Leave a Reply. |

Hello there!I'm Julia, Just Creative Julia, jolly pleased to meet you! 
Welcome to my creative lifestyle blog, established 2014. My creative journey in discovering my authentic self as a neurodivergent woman.
Embracing the Neuro Spicy! Here you will find many different topics centring around creativity, deep thoughts, mental health, food and more. Archives
May 2024
Categories
All
|
 RSS Feed

