
 If you're a Christian, like me, you may be a bit ambiguous about Halloween. Personally, I'm not a fan. And on previous years I have been known to turn all the lights out, hide away and hope we won't be disturbed! But recently, it's become a debate whether, as Christians, we should be hiding away. After all, it's written in God's word that 'people do not light a lamp and hide it under a bowl' (Matthew 5:15). We should be the light in the darkness. So, this year I've decided to embrace it. Not only have I ordered some 'bags of hope' from UCB (I plan to fill these with sweeties and hopefully, if time permits, copies of the Father's love letter) I've even made some cheeky little pumpkin earrings! That use God's natural creation of pumpkins and a heart design to show His love. No ghosts, witches or ghoulies here! 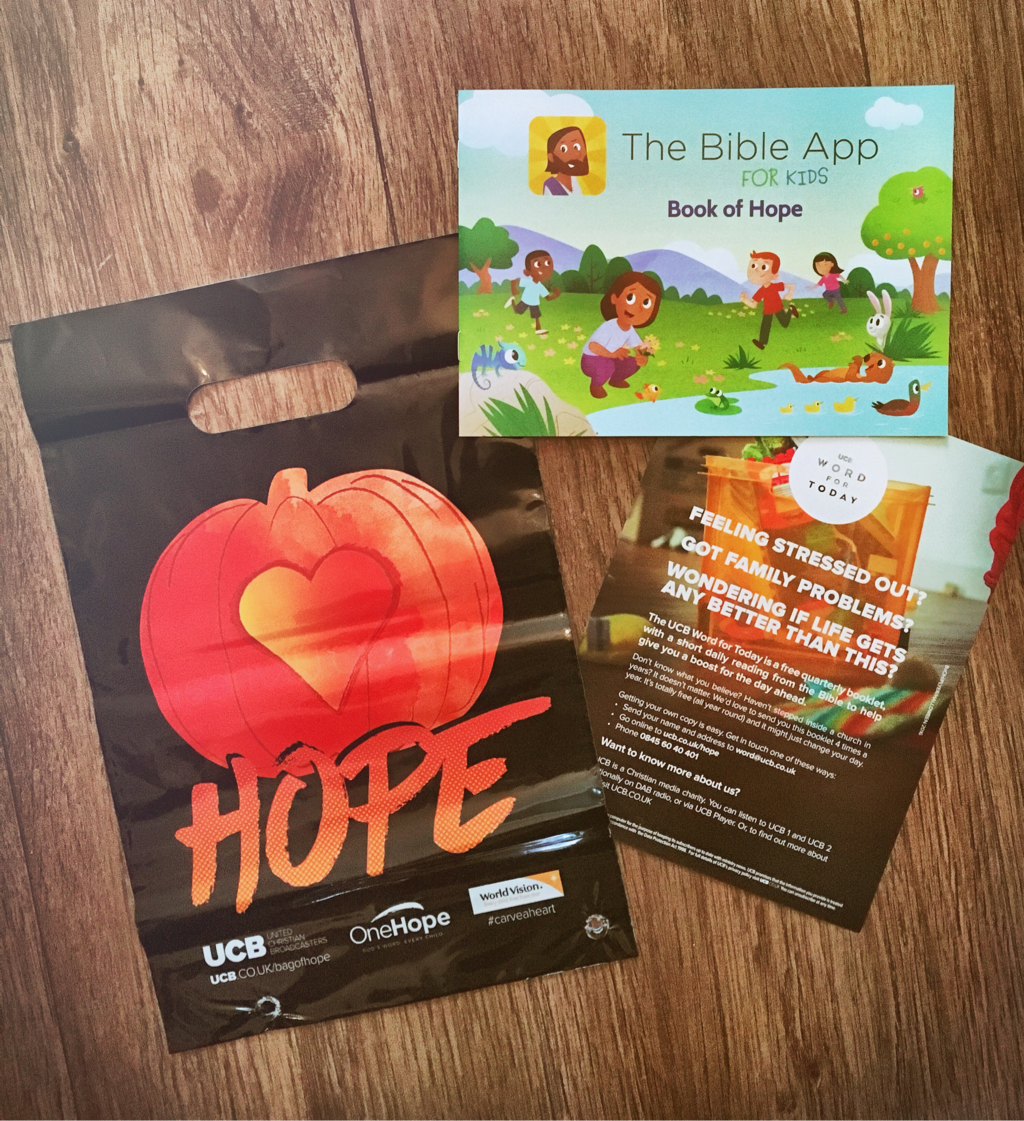 They were really easy to do so I thought I'd give you the tutorial for them. Made using shrink wrap plastic. Inspired from the picture on the bags of hope. Here we go! You Will Need
How To
 I drew one, cut it out and drew round it for the others, using it as a template. 2. Use your scalpel and cut out the heart shape in the middle. 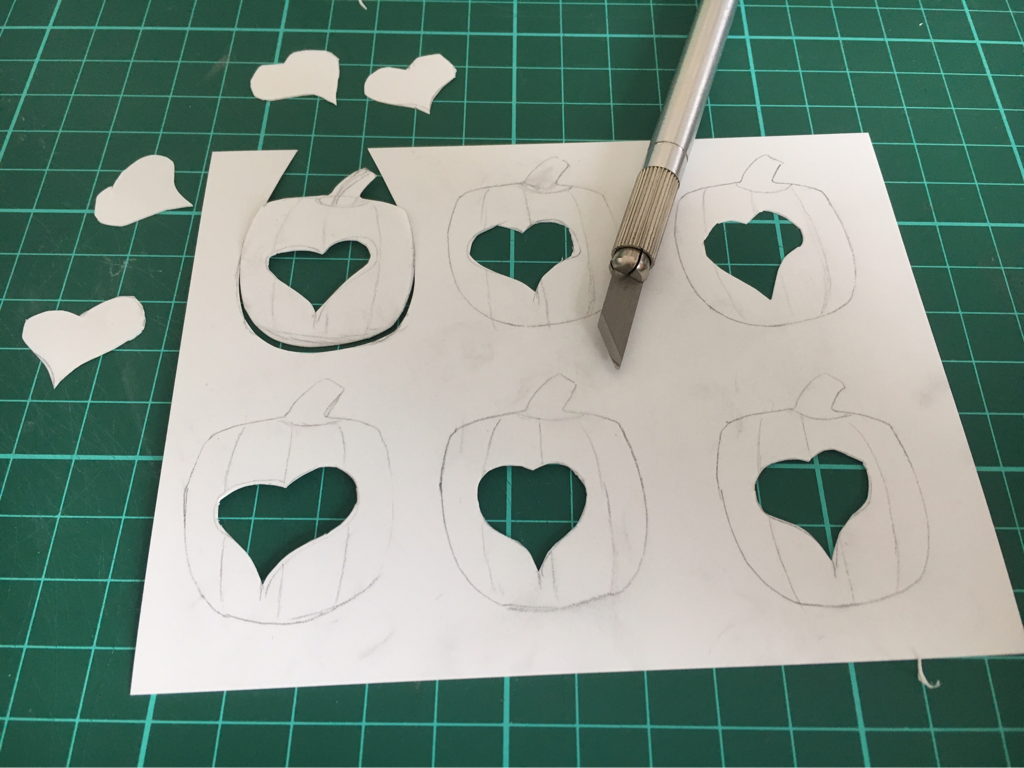 3. Colour them in! I used the orange pencil to colour in the main and my black Sharpie to colour in the stem. I then used it to draw the lines of the pumpkin and outline the heart and edges of the pumpkin.  4. Now the fun bit! Pre-heat your oven to 175 degrees C. And this is important, make sure your oven is at temperature before you put them in! I put mine in before this stage and they baked unevenly ending in a bit of a disaster for some of them! Make sure you punch a hole near the top too before putting them in. This will be where we'll attach the jump rings and earring findings. 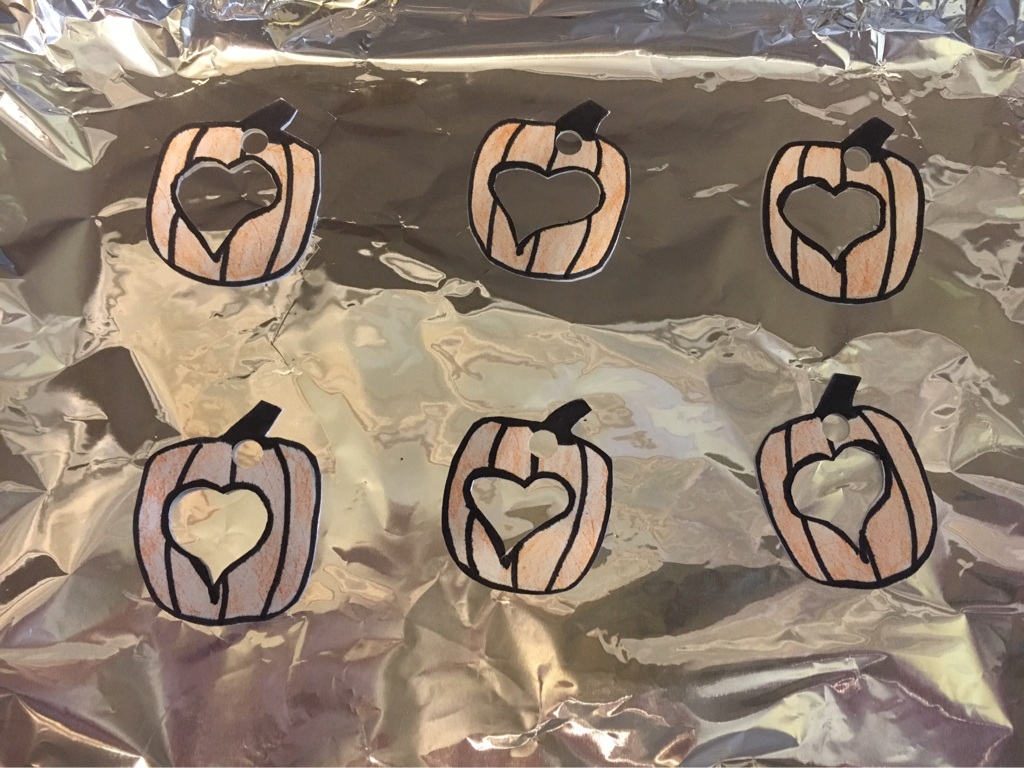 This is what they looked like before going in the oven. I love watching them! It is so satisfying to see something transform before your eyes! They will start to curl in the heat and eventually will lie flat. Once flat, take them out, making sure they're pliable. And immediately place them under a hefty hardback book or similar heavy object to get them flat. Careful not to burn your fingers! 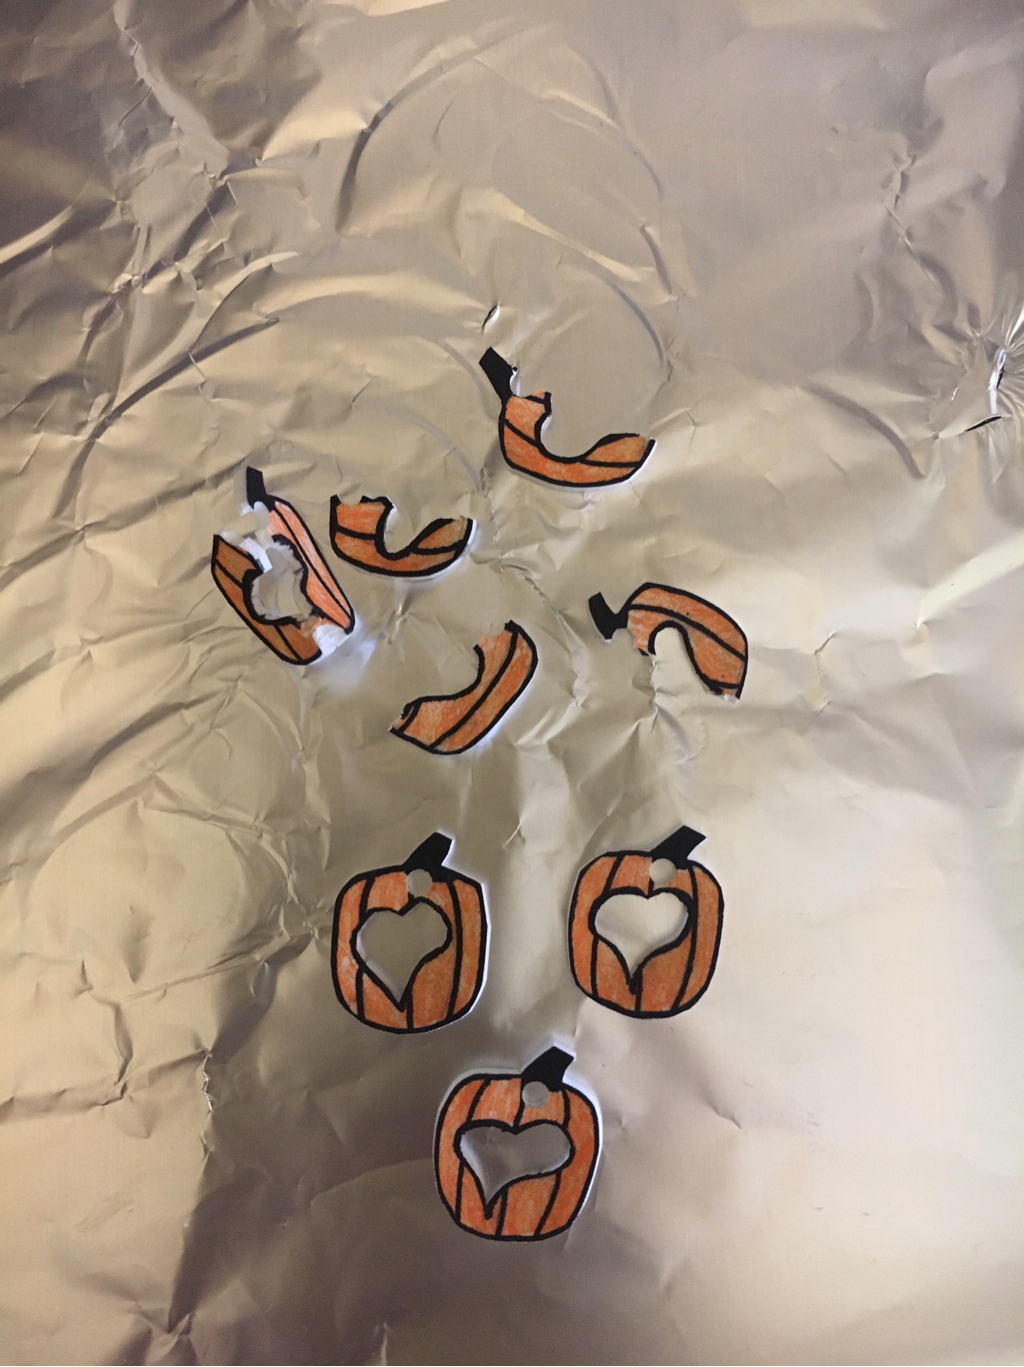 The disaster I mentioned? Well, they all started curling up at different times so I think I'd left it too late to get them flat. As they'd gone beyond pliable. So three of them just snapped! 5. Next, you just need to attach your findings. I used two bronze jump rings and the earring hook. Eh voila! Your finished Halloween Pumpkin earrings!  I've added in the 5p so you can get an idea of scale. They came out quite dinky but are quite cute for it!  Here's me, modelling it for you. You can really see how small they are compared to my massive face!
I hope you enjoy making these, please do get in touch and show me your examples if you have a go. Happy Halloween!
2 Comments
Joanne
24/10/2016 06:13:32 pm
Impressive! Looks really great xx
Just Creative Julia
22/5/2017 10:47:13 am
Thanks hun X Leave a Reply. |

Hello there!I'm Julia, Just Creative Julia, jolly pleased to meet you! 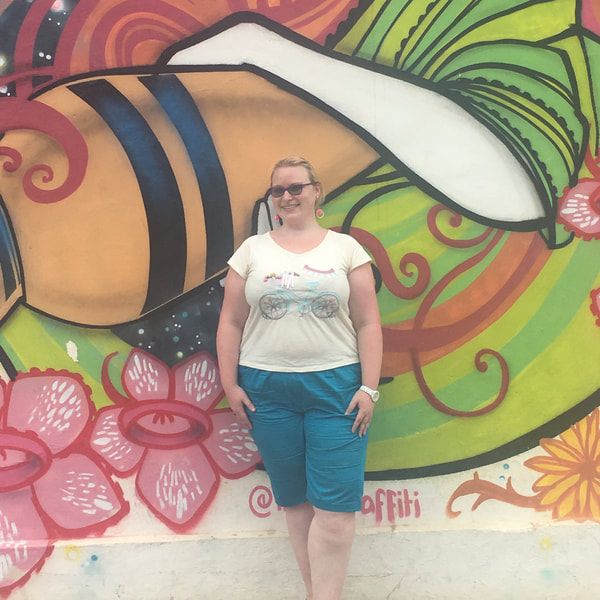
Welcome to my creative lifestyle blog, established 2014. My creative journey in discovering my authentic self as a neurodivergent woman.
Embracing the Neuro Spicy! Here you will find many different topics centring around creativity, deep thoughts, mental health, food and more. Archives
May 2024
Categories
All
|
 RSS Feed

